GitHub Plugin
ProCreate new GitHub Repository Issues from form results.
Use the GitHub Plugin to create new GitHub issues from new form results.
Setup the Plugin
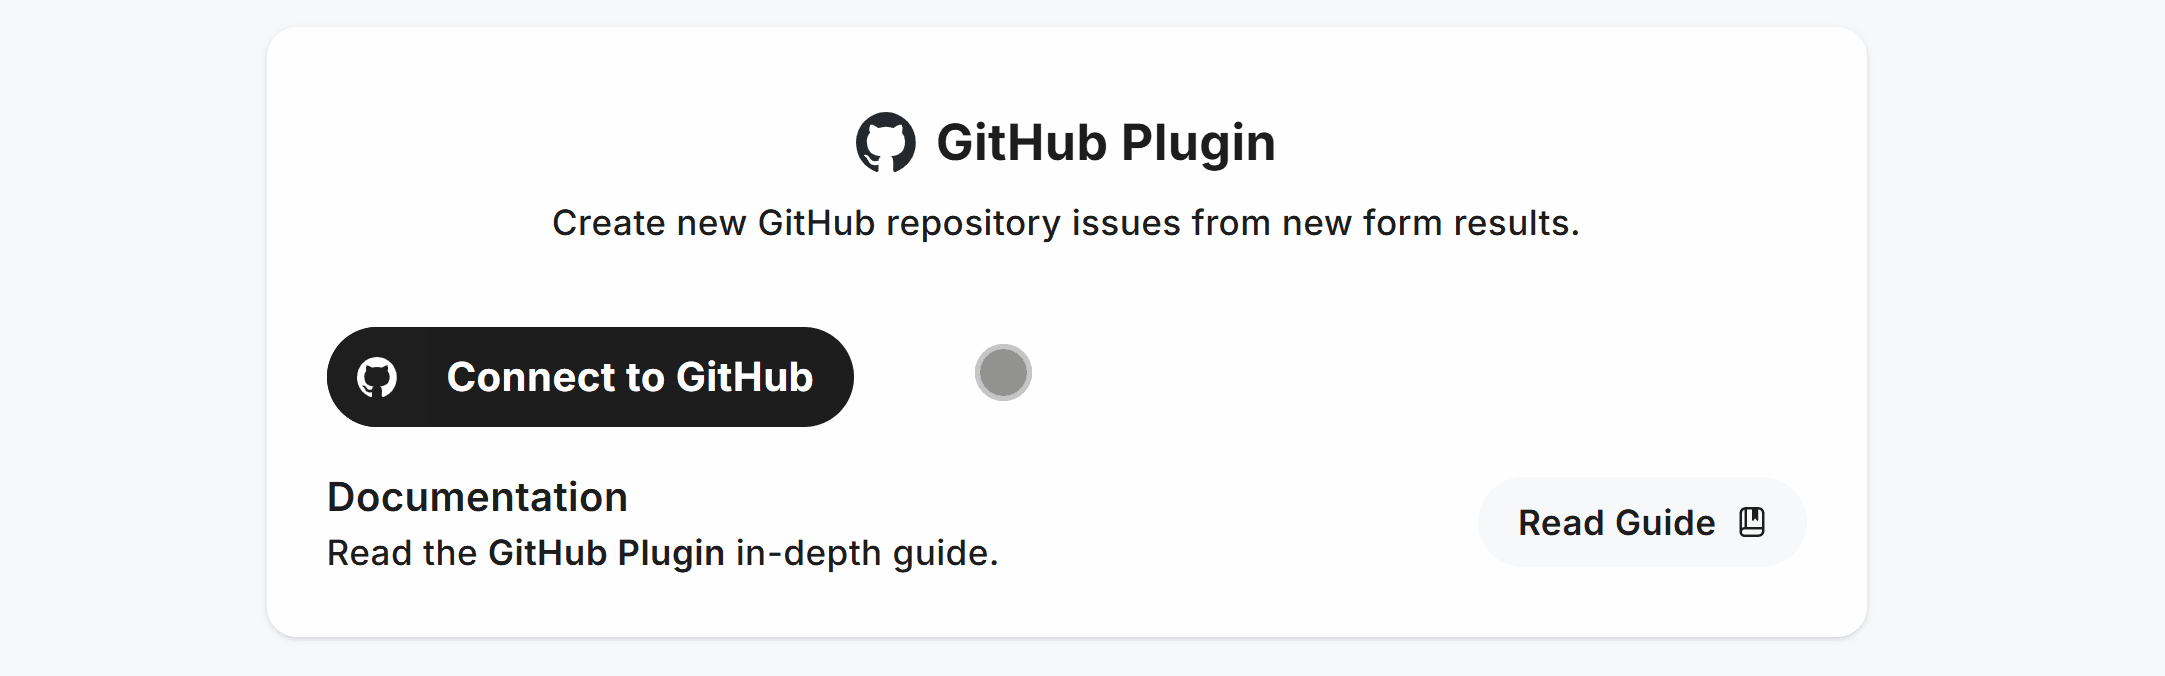
Go to the Plugins page in your form, select Github and click Connect to Github:
Click Authorize funforms to grant the plugin permission within the authorization popup:
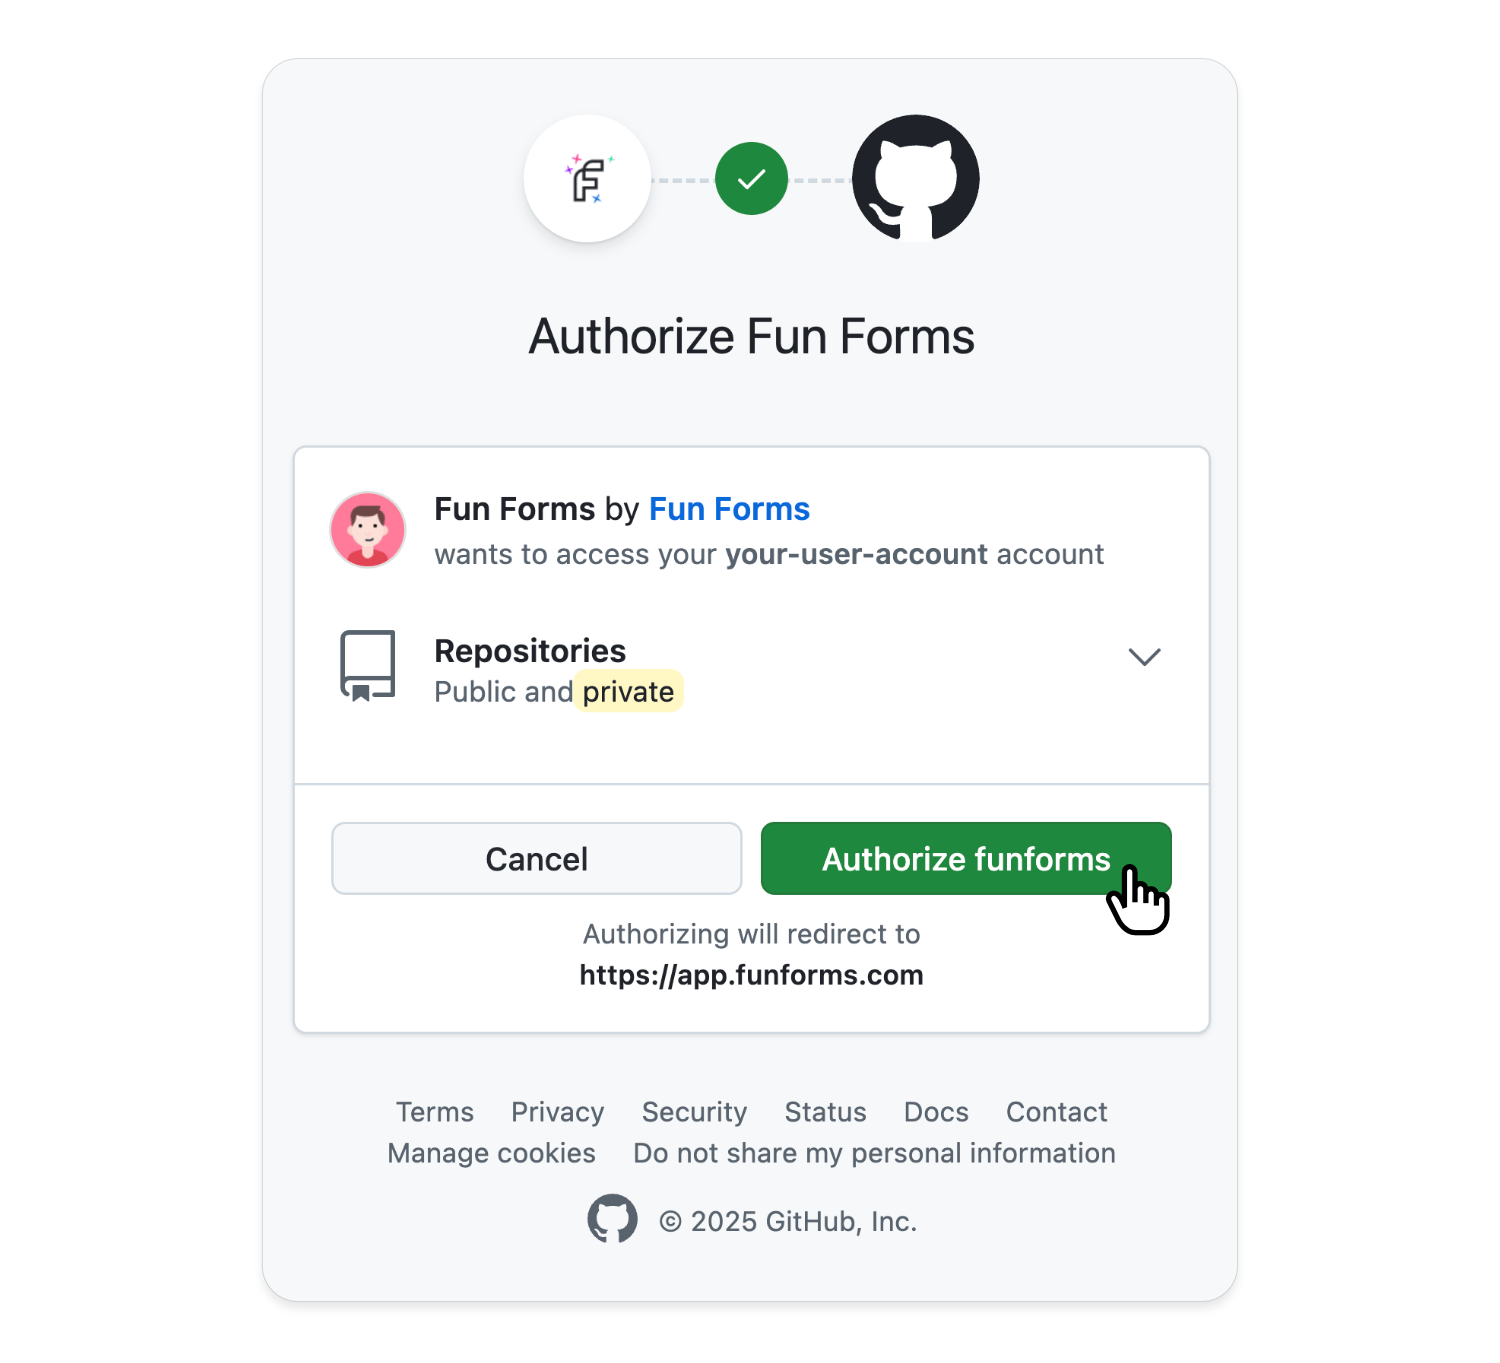
🚨 If you wish to extend permissions to another repository/organization but have already completed the authorization process, you’ll need to visit your Authorized OAuth Apps in GitHub and click “Revoke” on Fun Forms to Revoke the App. This allows you to then restart the authorization process to grant access to more repositories, this quirk is due to GitHub OAuth limitations.
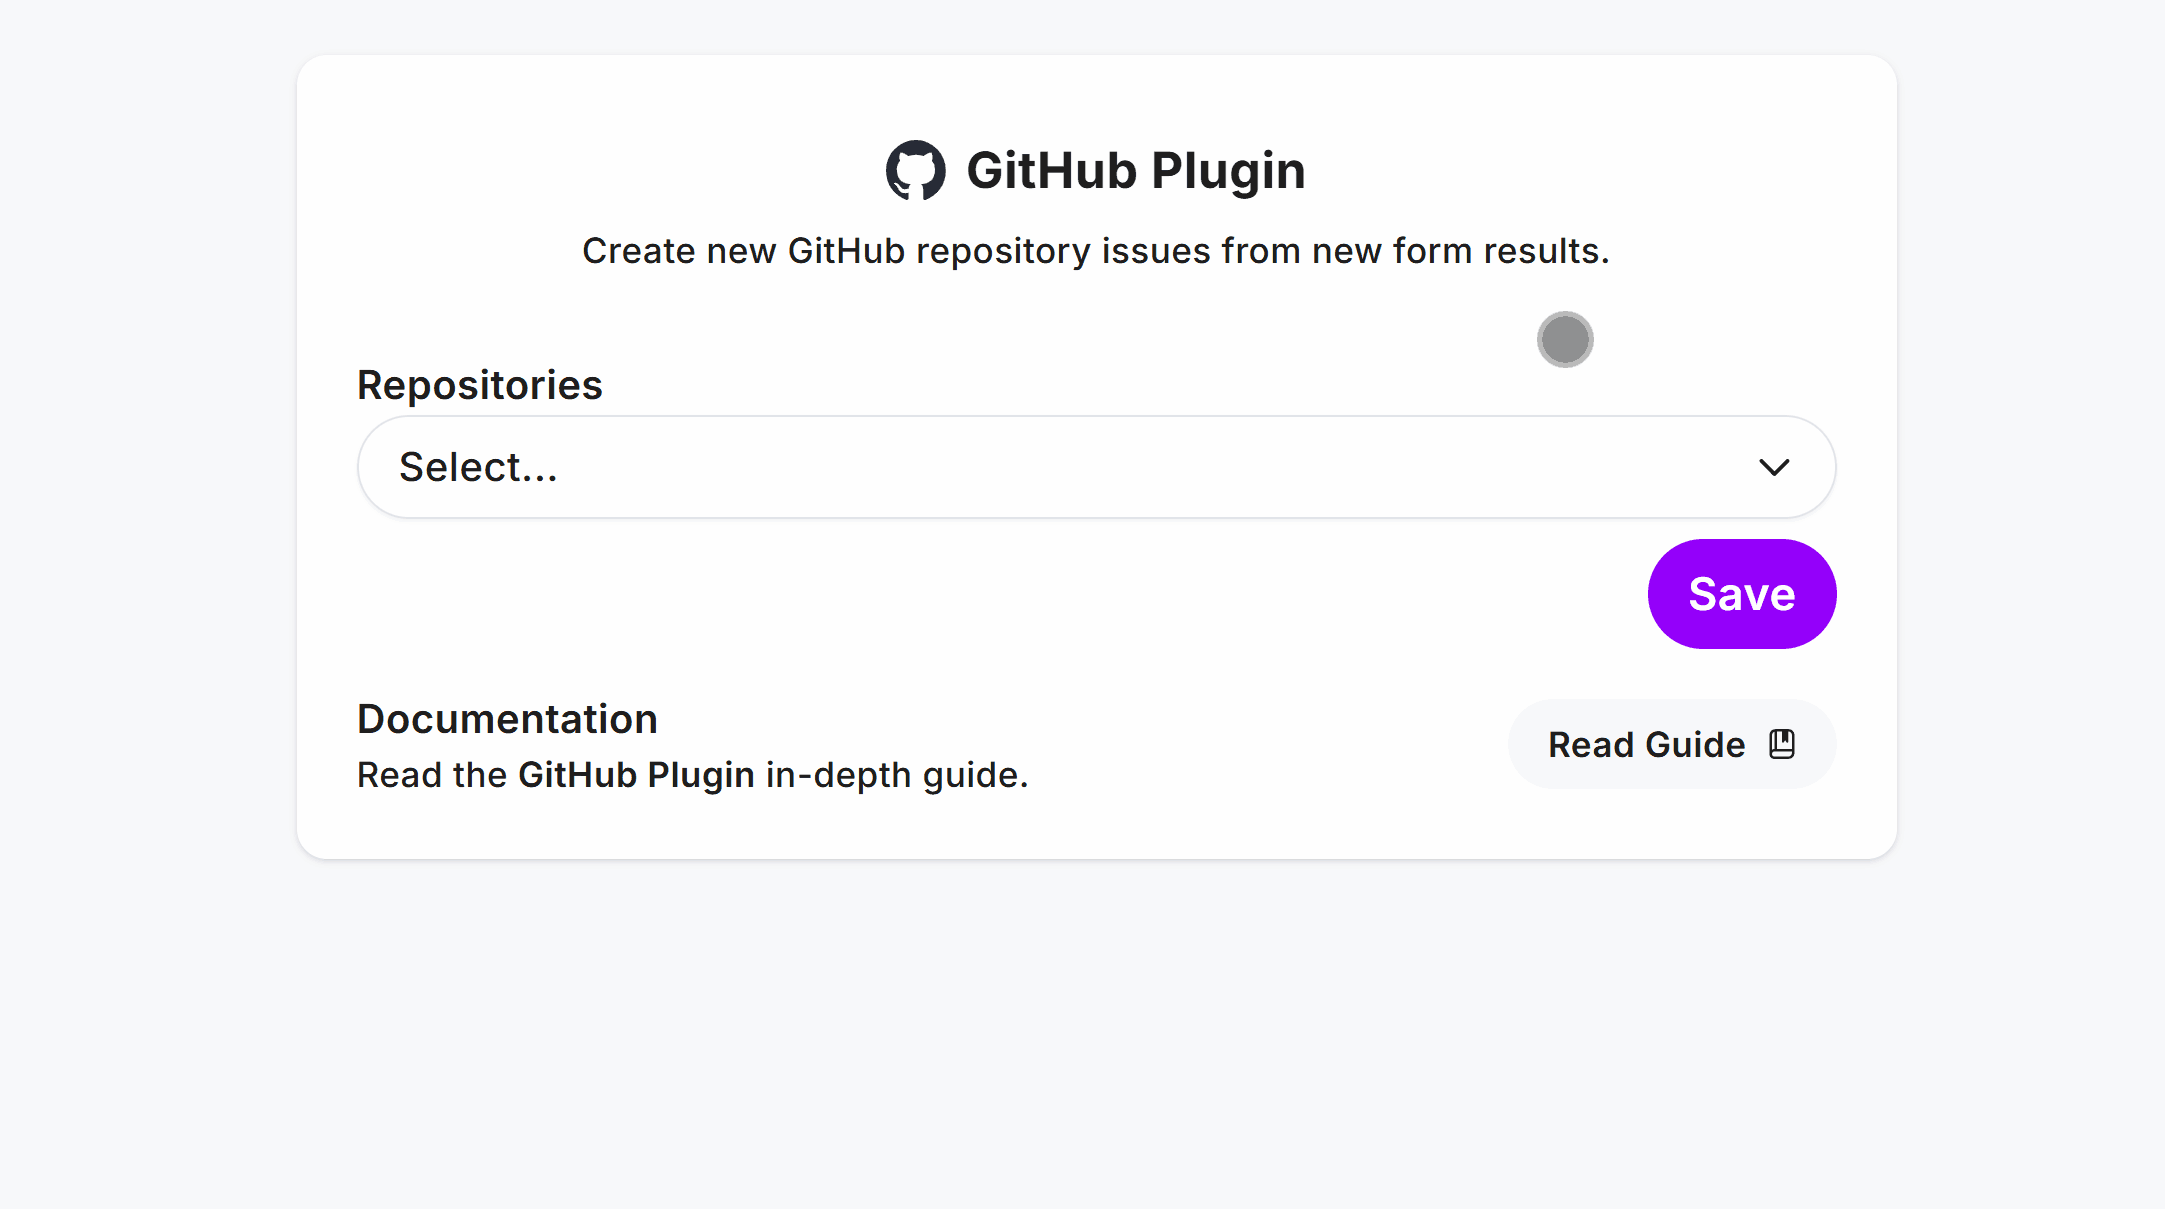
Once GitHub is authorized, select the Repository to create new issues in, then click Save:
Once setup, you’ll see a direct link to your chosen GitHub Repository for one-click access.
Customization
Out-the-box the GitHub Plugin uses the form name for each new issue. You can quickly configure a custom Issue Title based on the form result data via the Field Mapper.
Issue Title
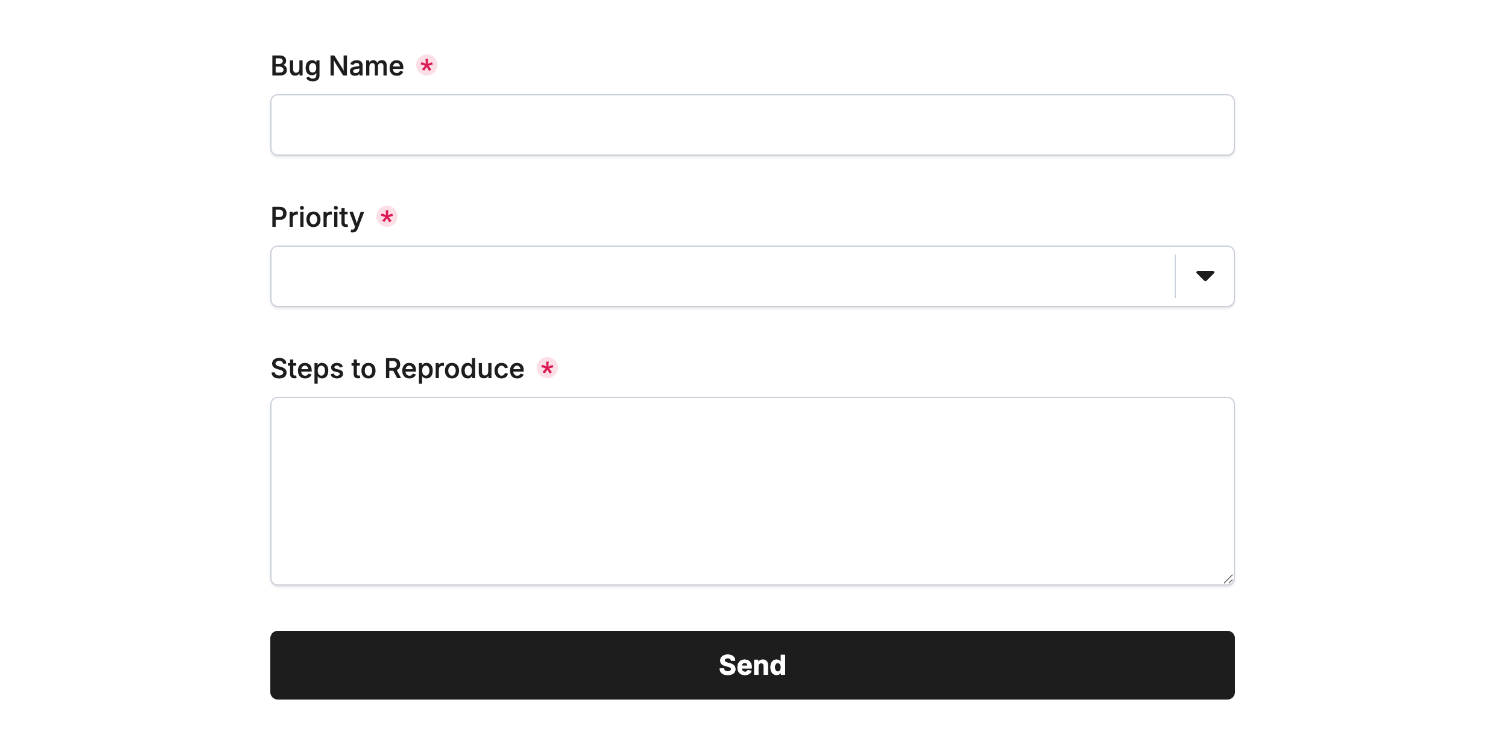
Let’s add a Bug Name field to our form, then we’ll setup the GitHub Plugin to use entered data as the Issue Title:
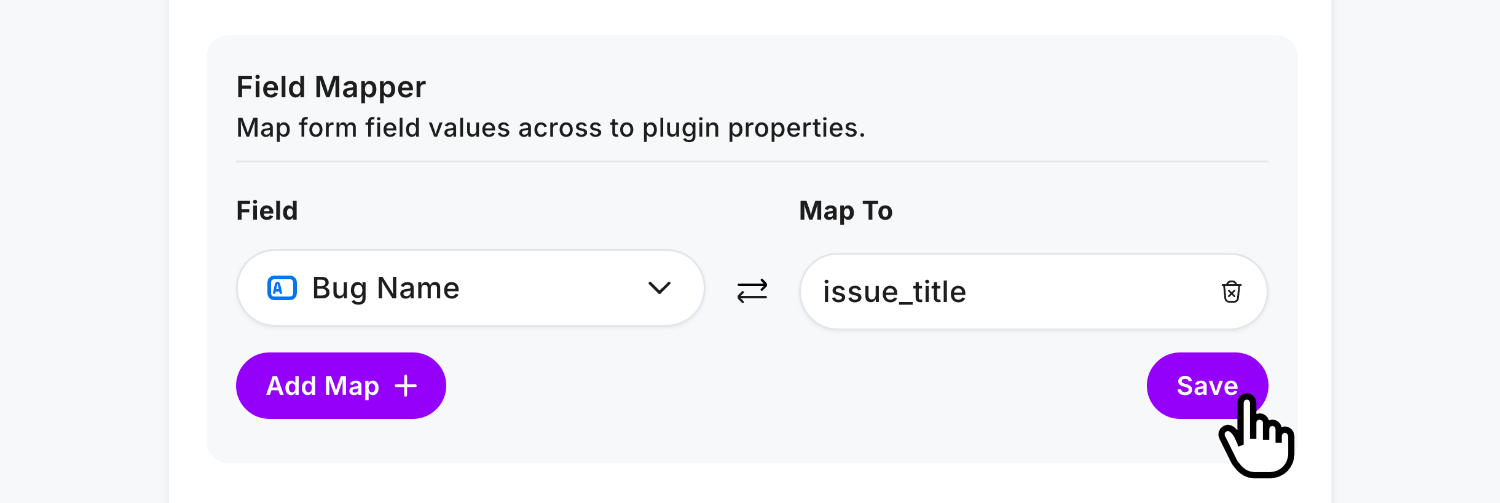
Visit Plugins > GitHub and locate the Field Mapper.
Select the Bug Name field, then enter issue_title in the Map To column. This tells the GitHub Plugin to use the value of Bug Name as the issue_title for the GitHub card:
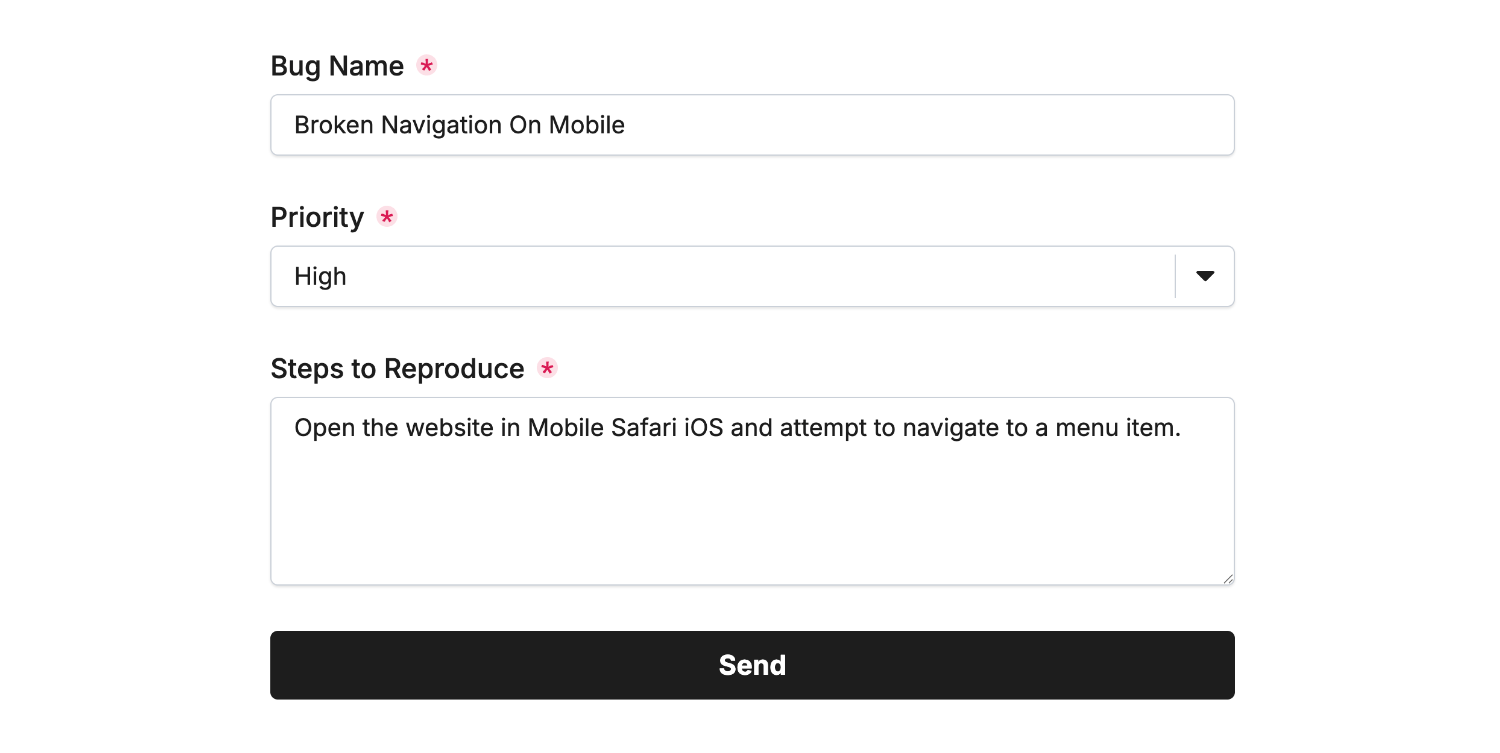
When data is entered in that field, the GitHub Plugin will be ready to use it as the issue_title:
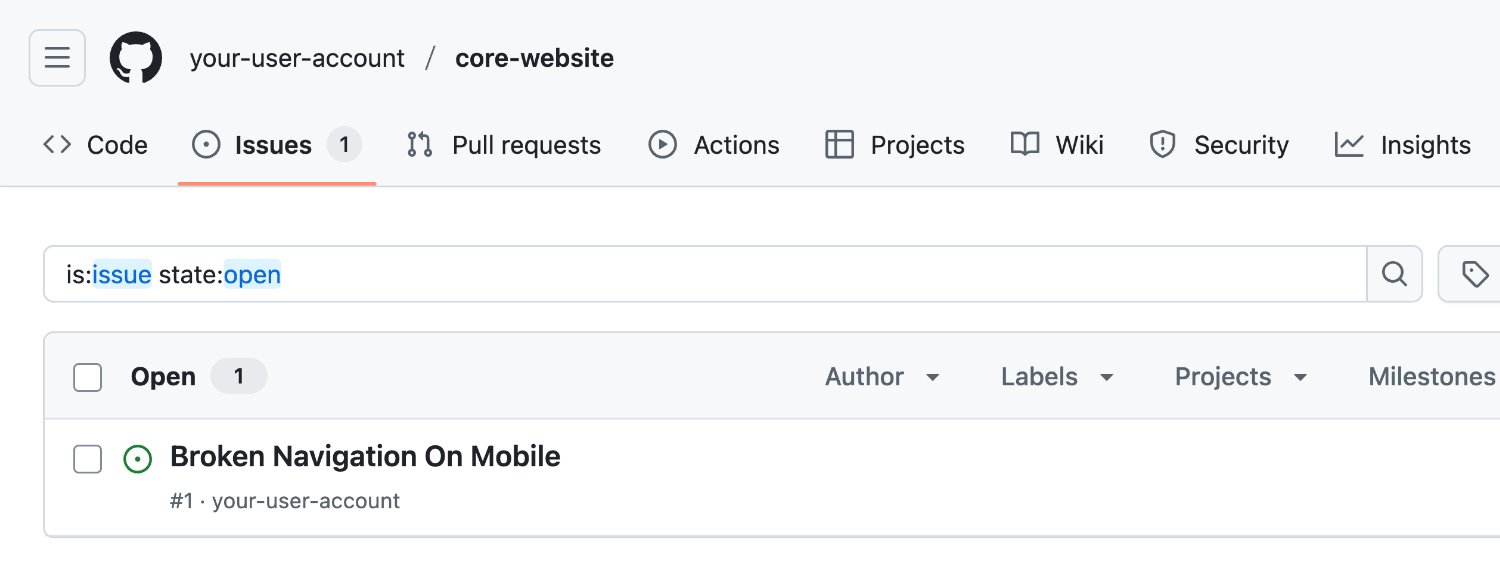
The GitHub issue is then created with the title based off the entered value when the form is submitted:
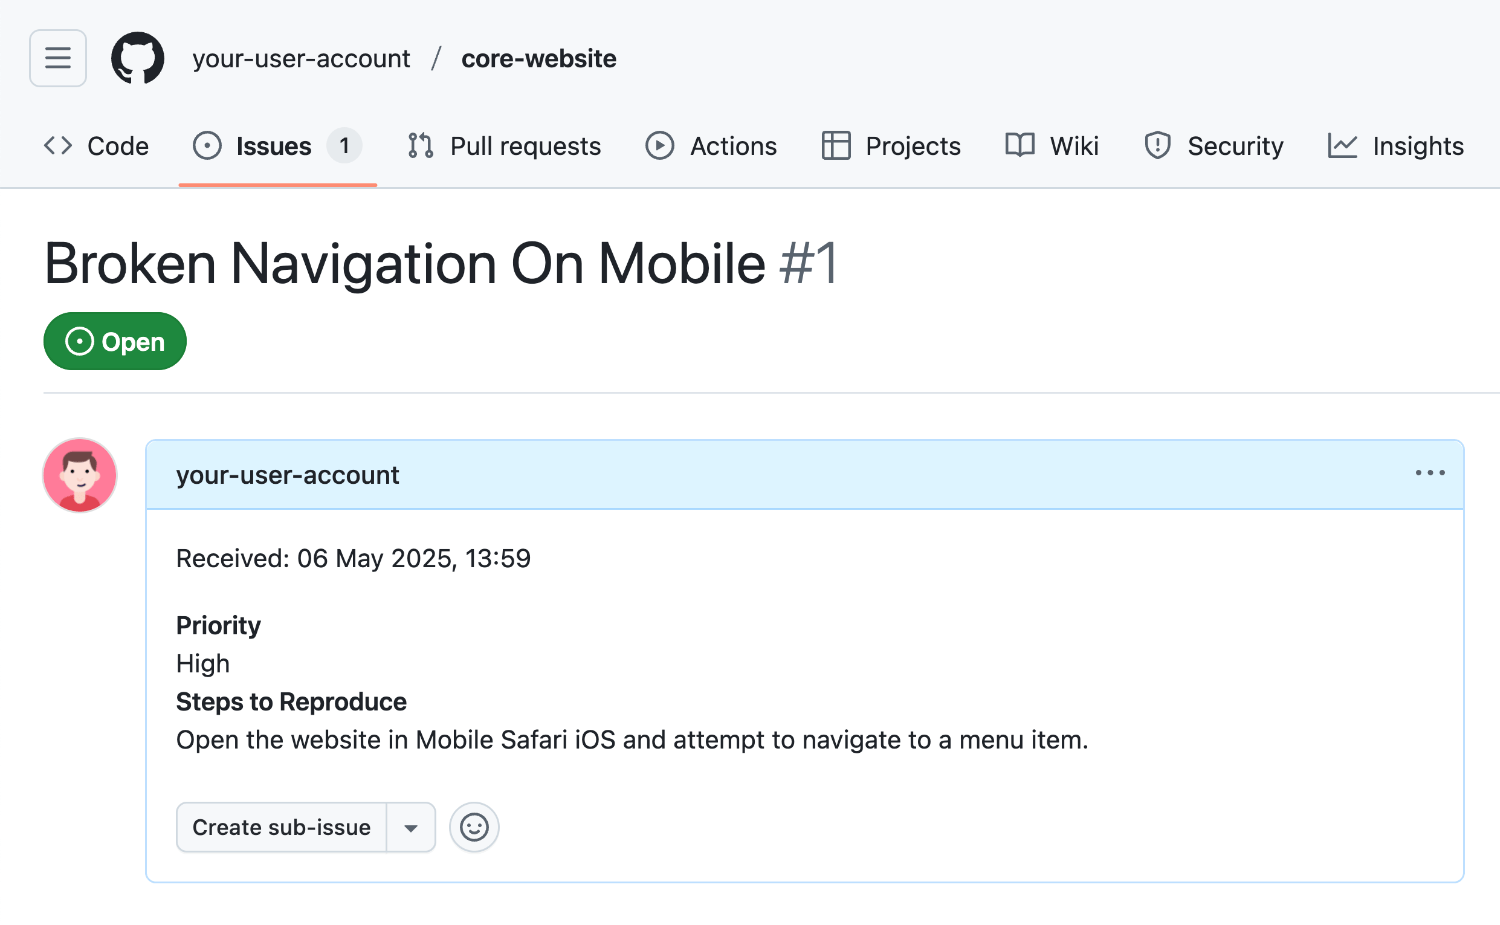
When clicking the GitHub issue, all other response data is included in the main description:
🏆 Hint: The user used to authorize the GitHub Plugin is the user that “creates” issues in the repository.
That’s it! You can contact us for help anytime.