Mailchimp Plugin
ProCreate new Mailchimp subscribers from form results.
Use the Mailchimp Plugin to create and update Mailchimp subscribers from new form results.
Add new subscribers to your subscriber list and optionally slot them into single or multiple groups, complete with options for conditional opt-in or always opt-in.
Setup the Plugin
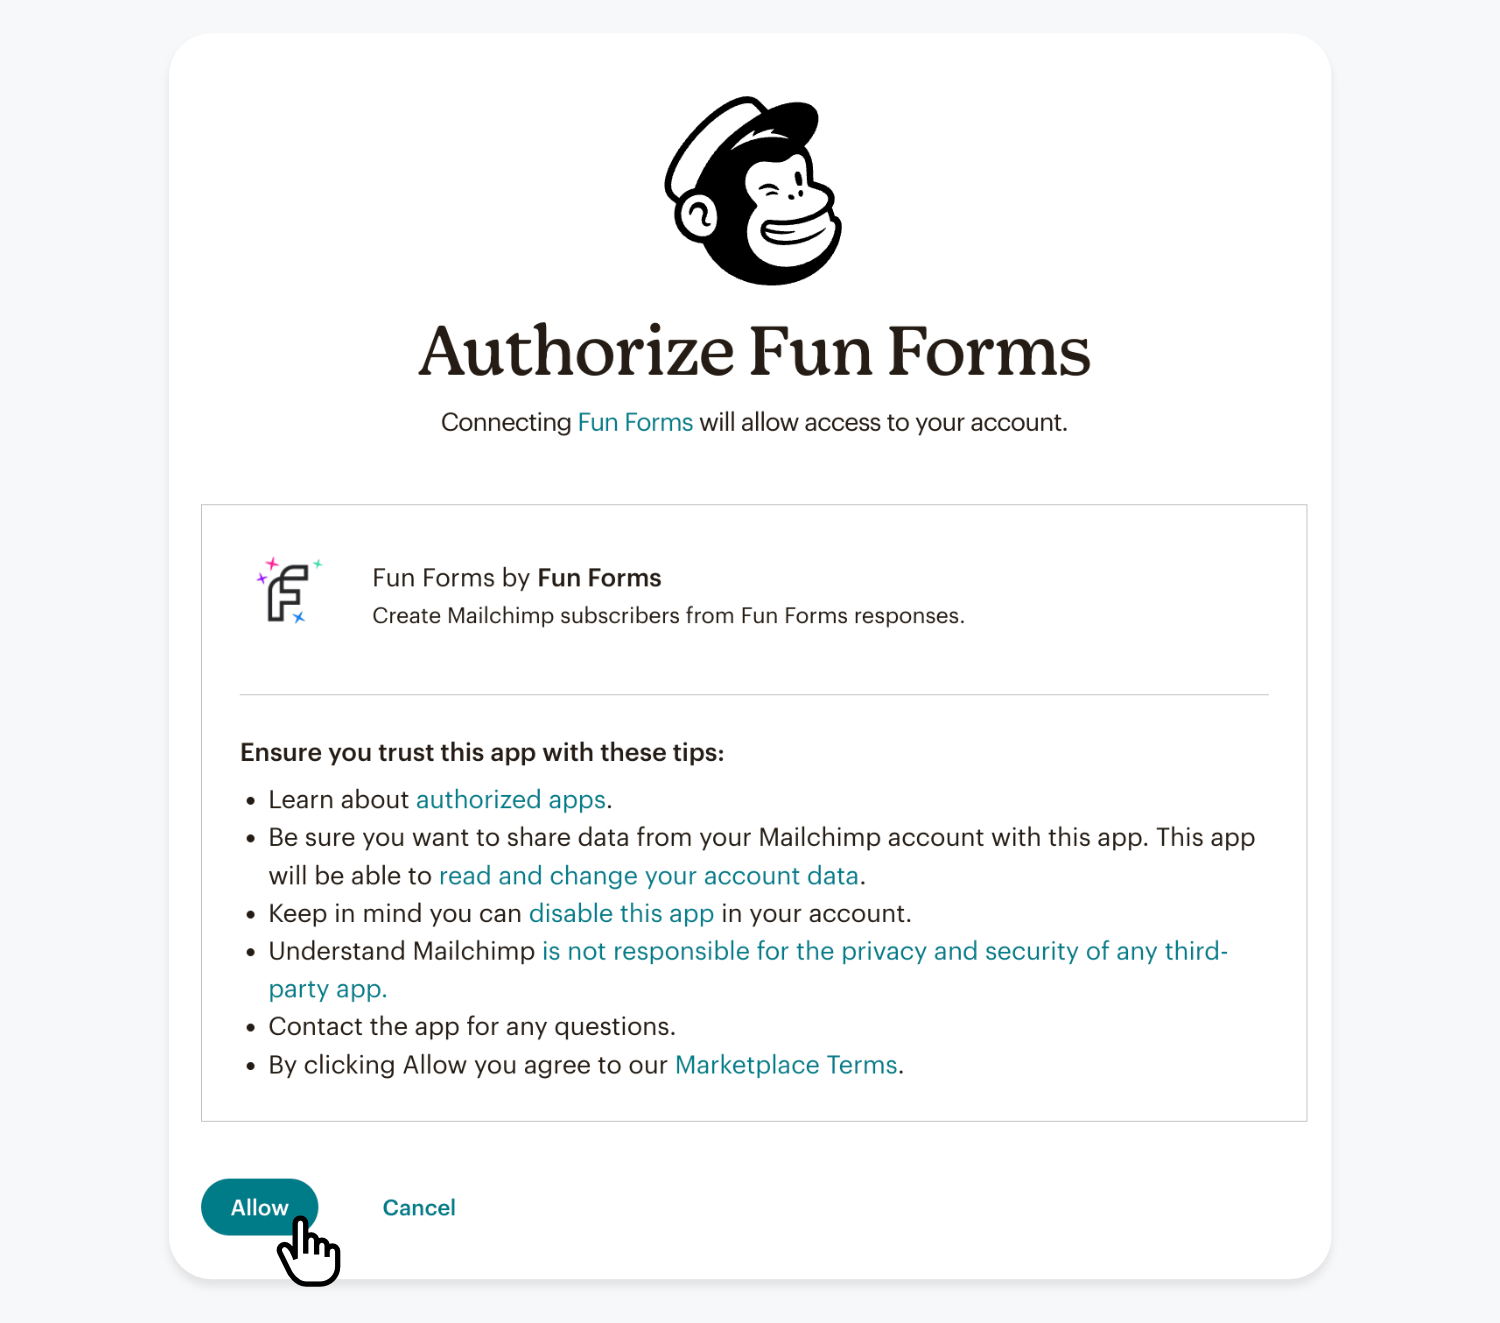
Go to the Plugins page in your form, select Mailchimp and click the Connect to Mailchimp button to launch the authorization popup:
Click Allow to grant the plugin permission within the authorization popup:
Once Mailchimp is authorized, select the Audience to create new Mailchimp subscribers in, then click Save:
Once setup, you’ll see your chosen Mailchimp Audience name in the plugin configuration.
Create Subscribers with Mailchimp
To create new Mailchimp subscribers from form results, use the Field Mapper within the Mailchimp Plugin to connect form fields to Mailchimp merge tag names.
Subscribe with Email
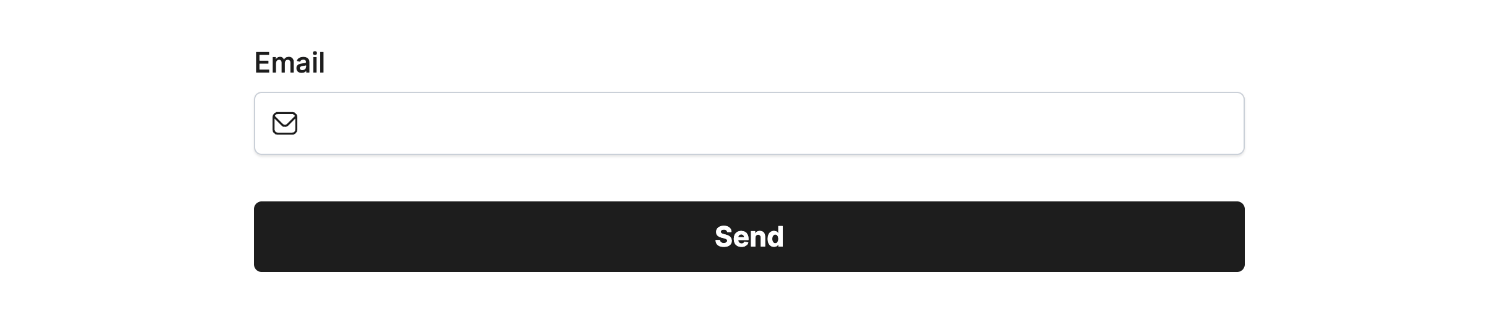
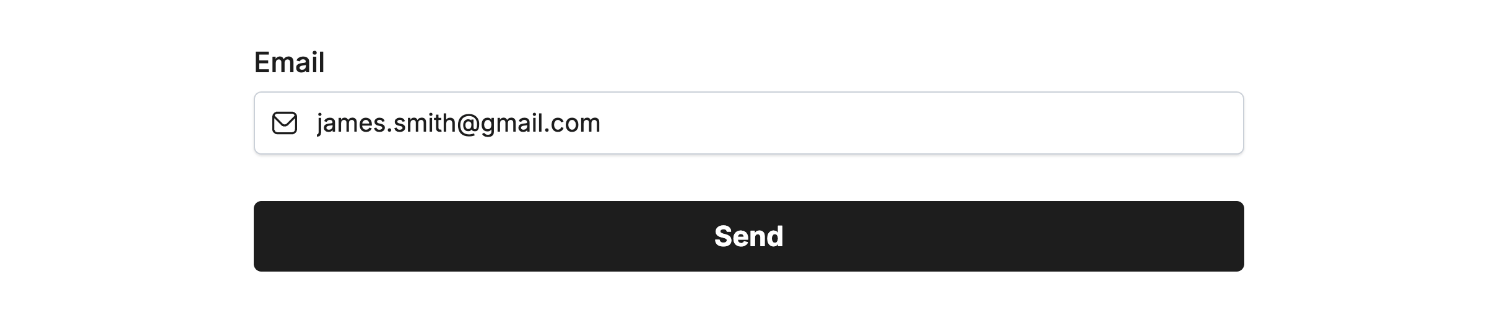
First create a form and add an Email Field:
Create the connection to the Email Field with a Mailchimp merge tag name email with the Field Mapper:
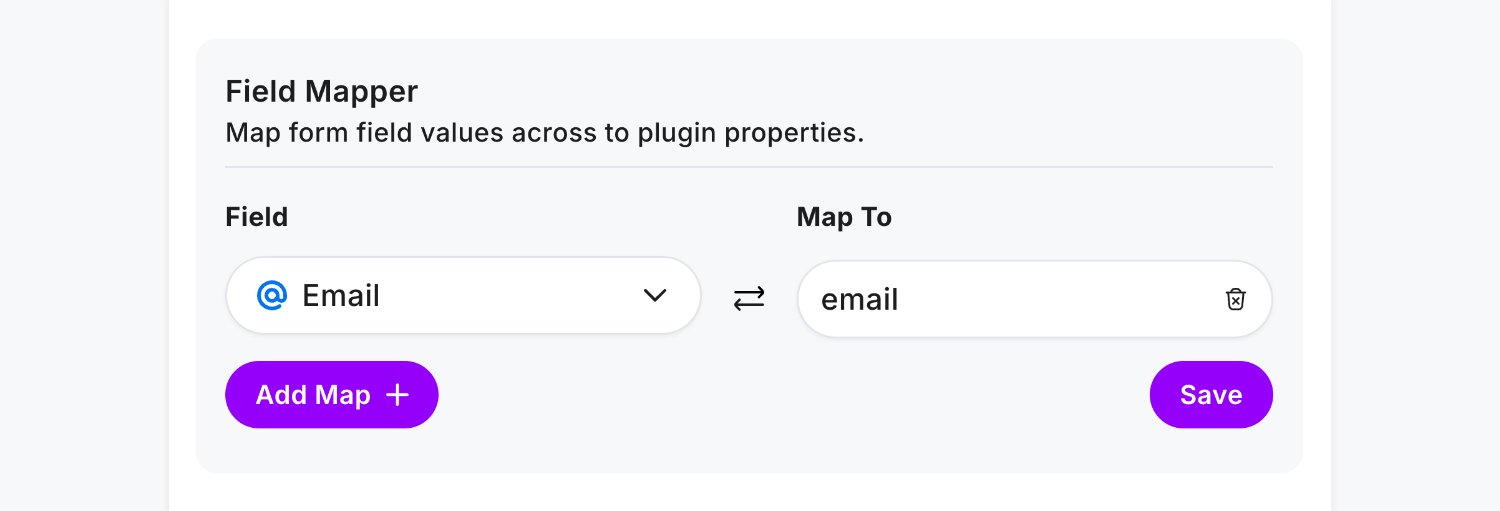 Field type ‘Email’ • Field Mapped to ’email’
Click Save and Publish, then enter some data in your form and click Send:
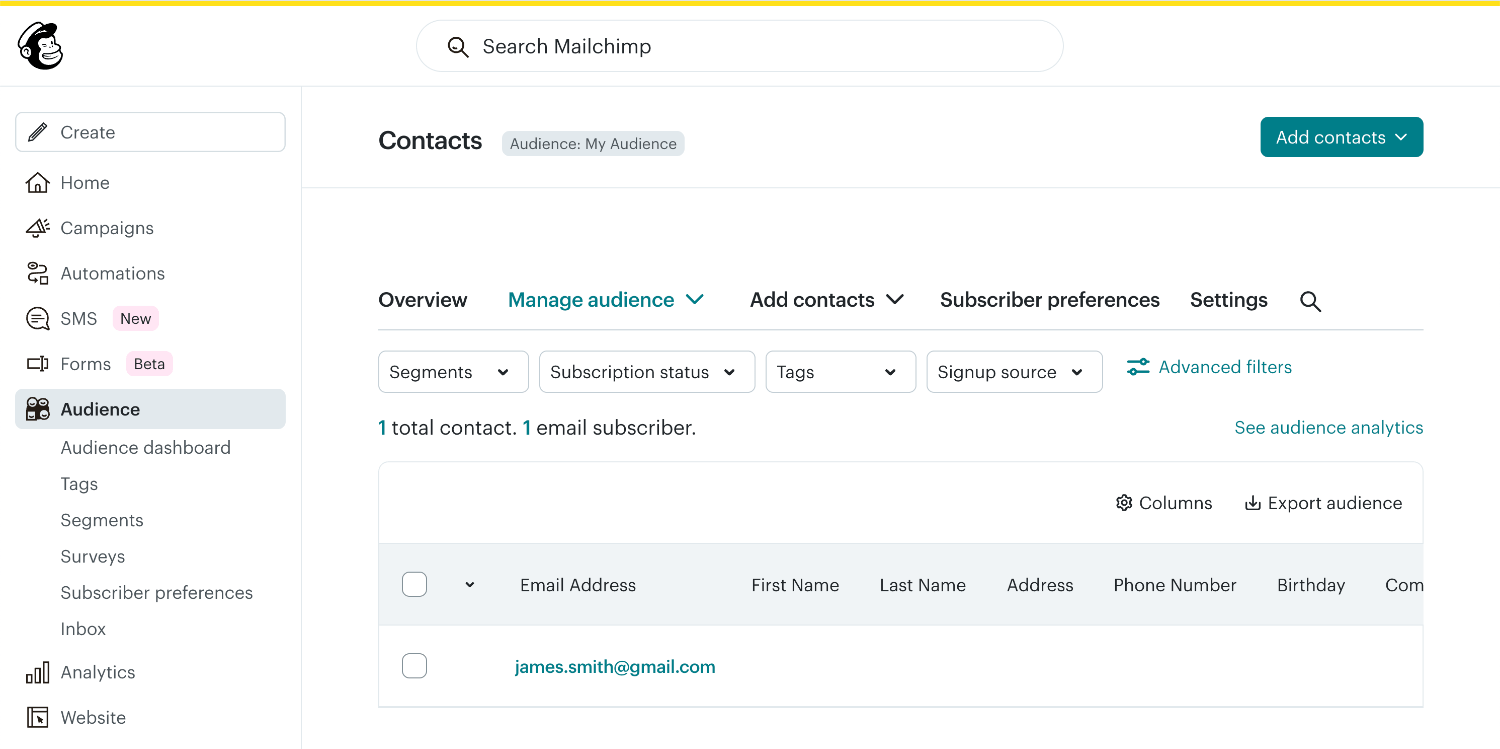
A Mailchimp subscriber is then created from the email entered value when the form is submitted:
That’s it! To include extra fields, groups, tags and opt-in checkboxes - read on.
Subscribe with Extra Fields
Mailchimp uses “merge tags” to reference different attributes of a subscriber, such as their First Name, Email or Phone.
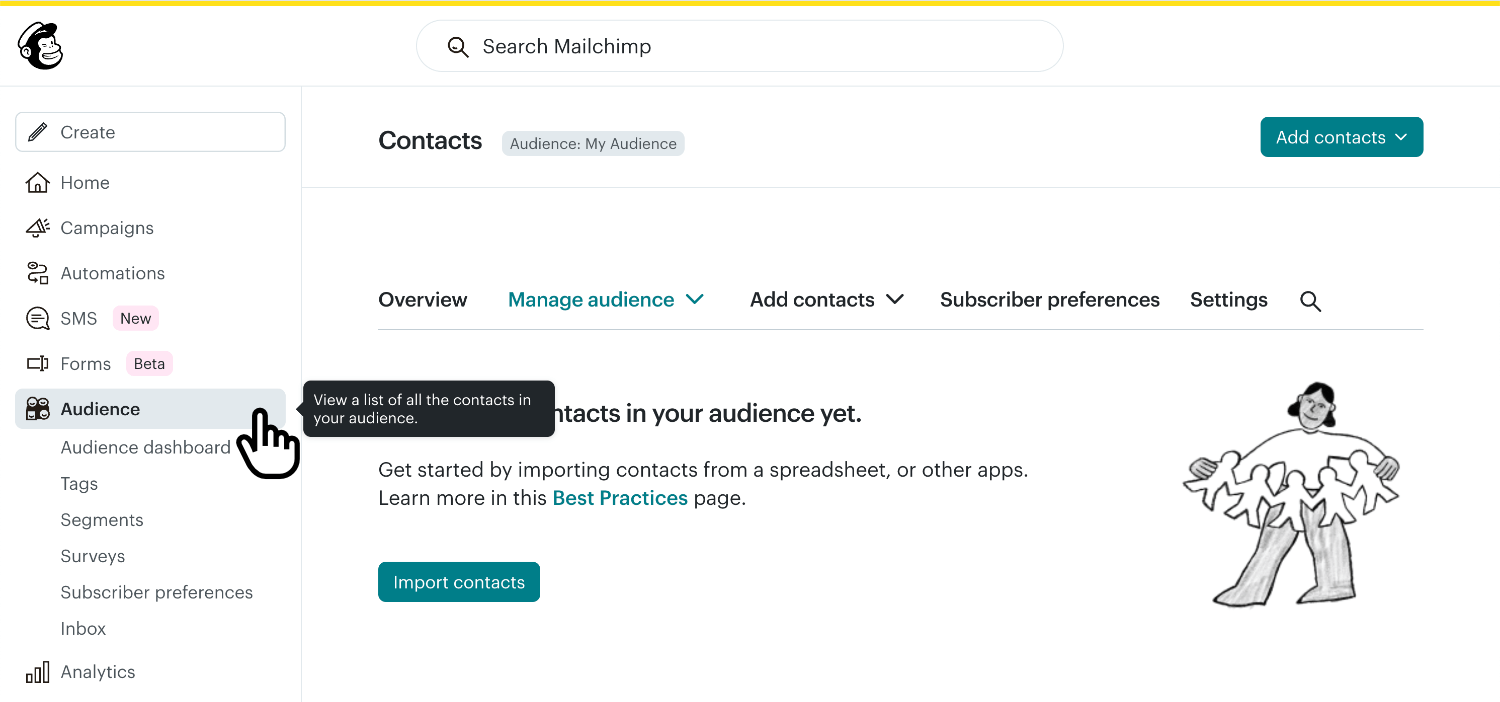
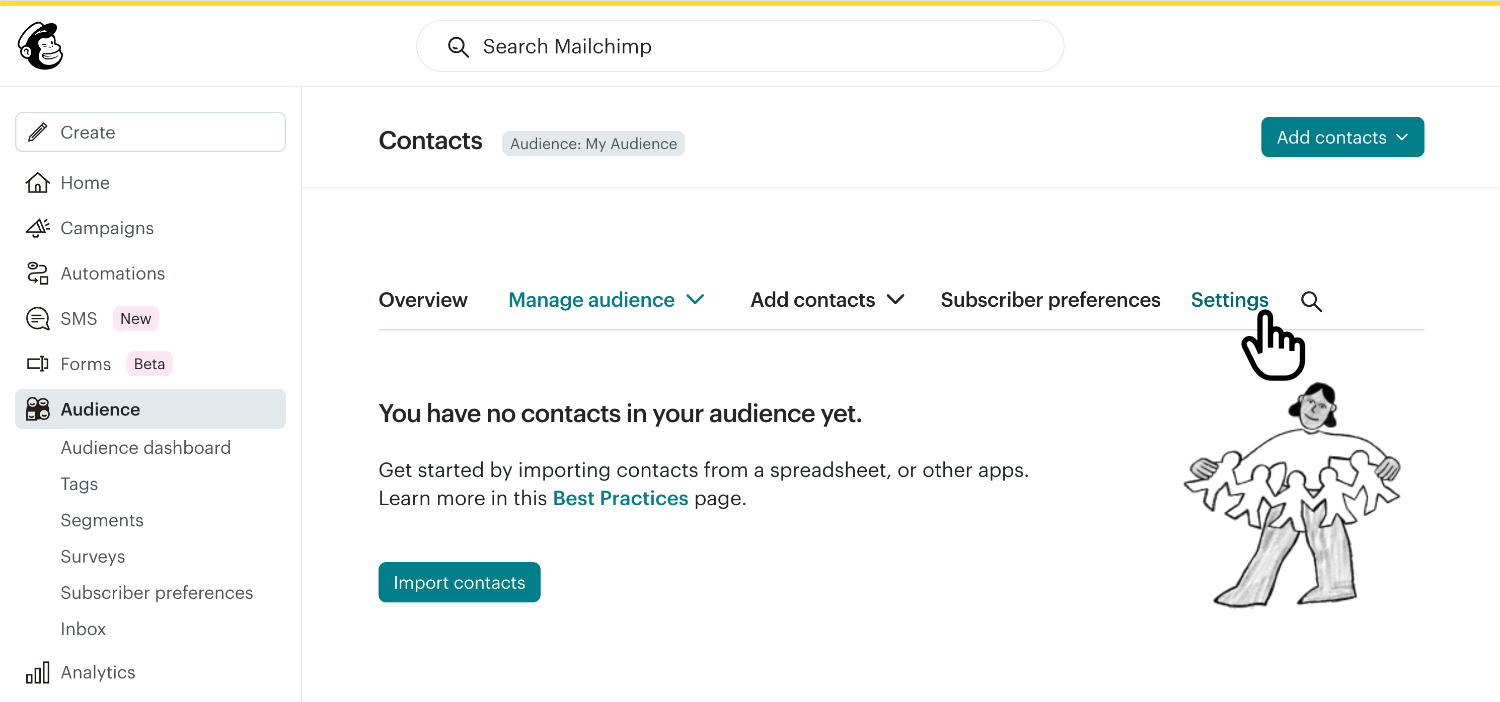
Access the full list of merge tags available (including custom ones) in the Mailchimp app by clicking Audience in the sidebar and following the next few steps:
Then, click Settings:
Finally, click Edit audience fields:
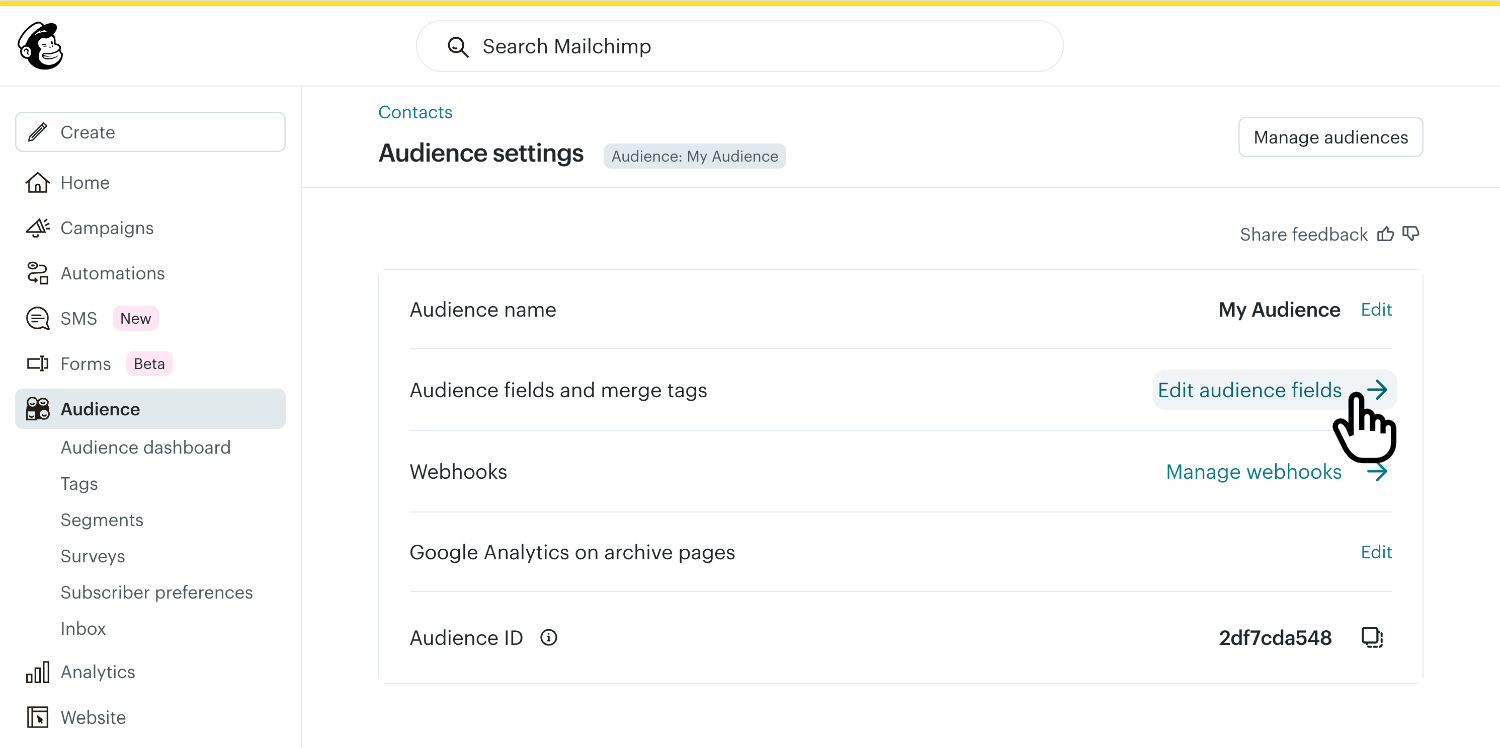
You’ll then see all merge tags, with the values we need highlighted:
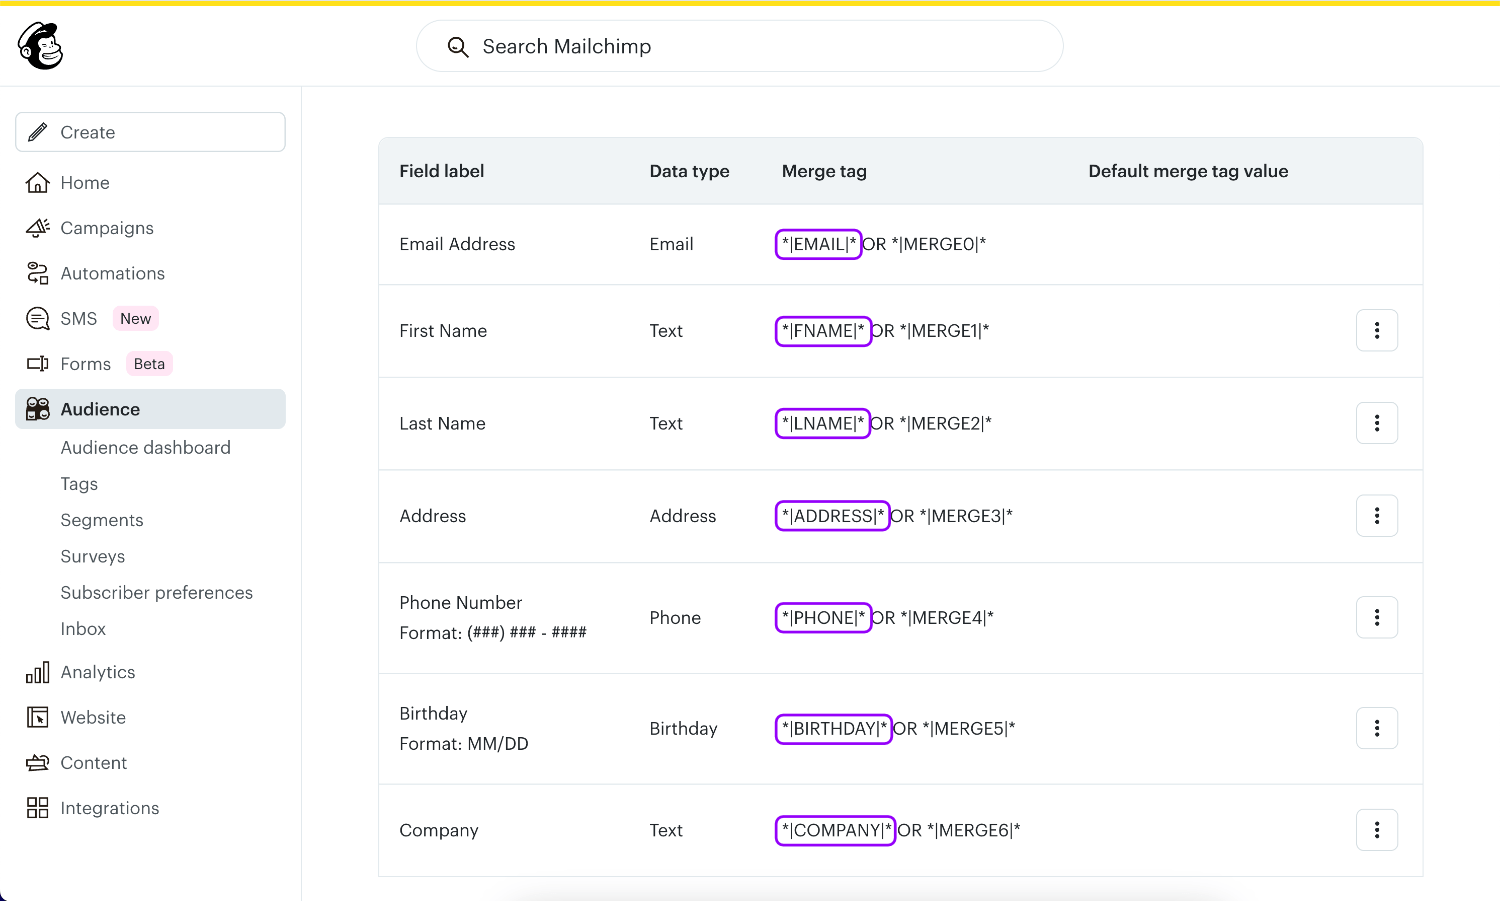
Always use the merge tag name highlighted purple, e.g.
FNAMEnotMERGE1
Here is the full list of Mailchimp merge tag names for you to copy, you can pick and choose which to use for your form:
EMAIL- Subscriber email (always required)FNAME- Subscriber first nameLNAME- Subscriber last nameADDRESS- Subscriber address locationPHONE- Subscriber phone numberBIRTHDAY- Subscriber birthdayCOMPANY- Subscriber company
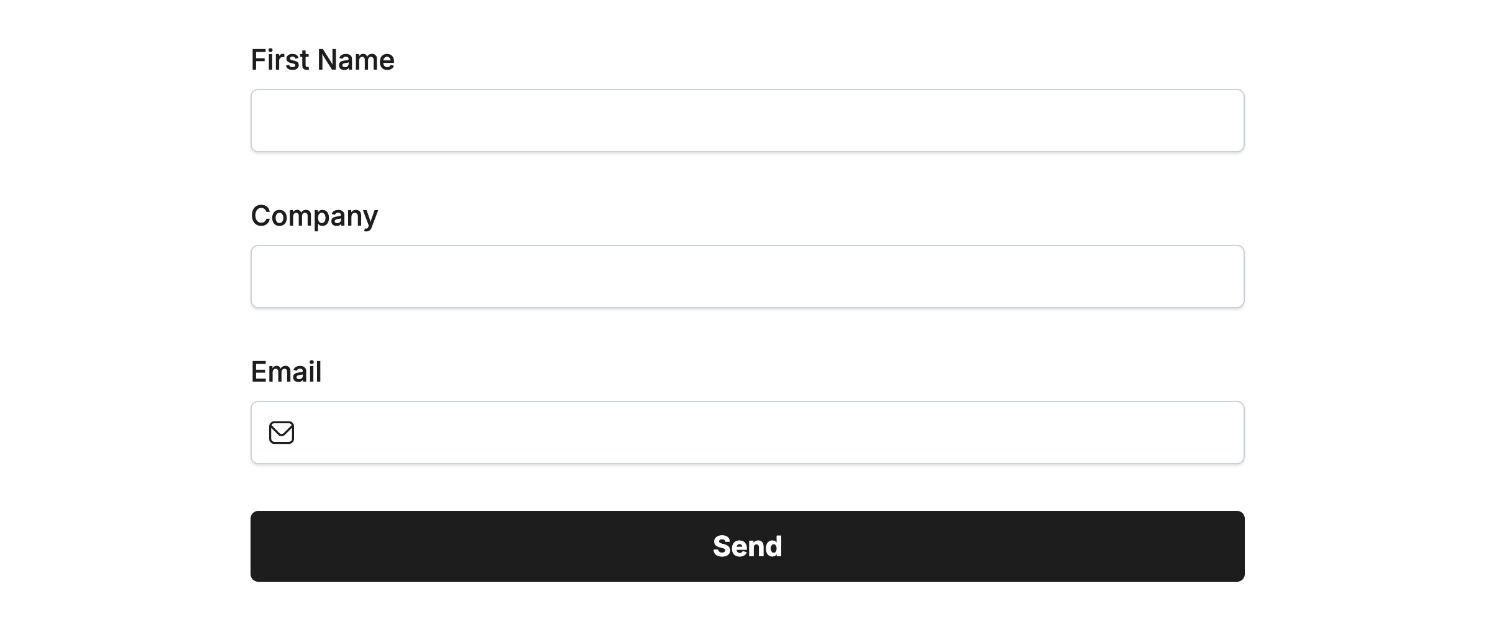
Let’s add First Name and Company fields to our form and then map them to fname and company:
Create the connection to each field with a Mailchimp merge tag with the Field Mapper:

Click Save and Publish, then enter some data in your form and click Send:
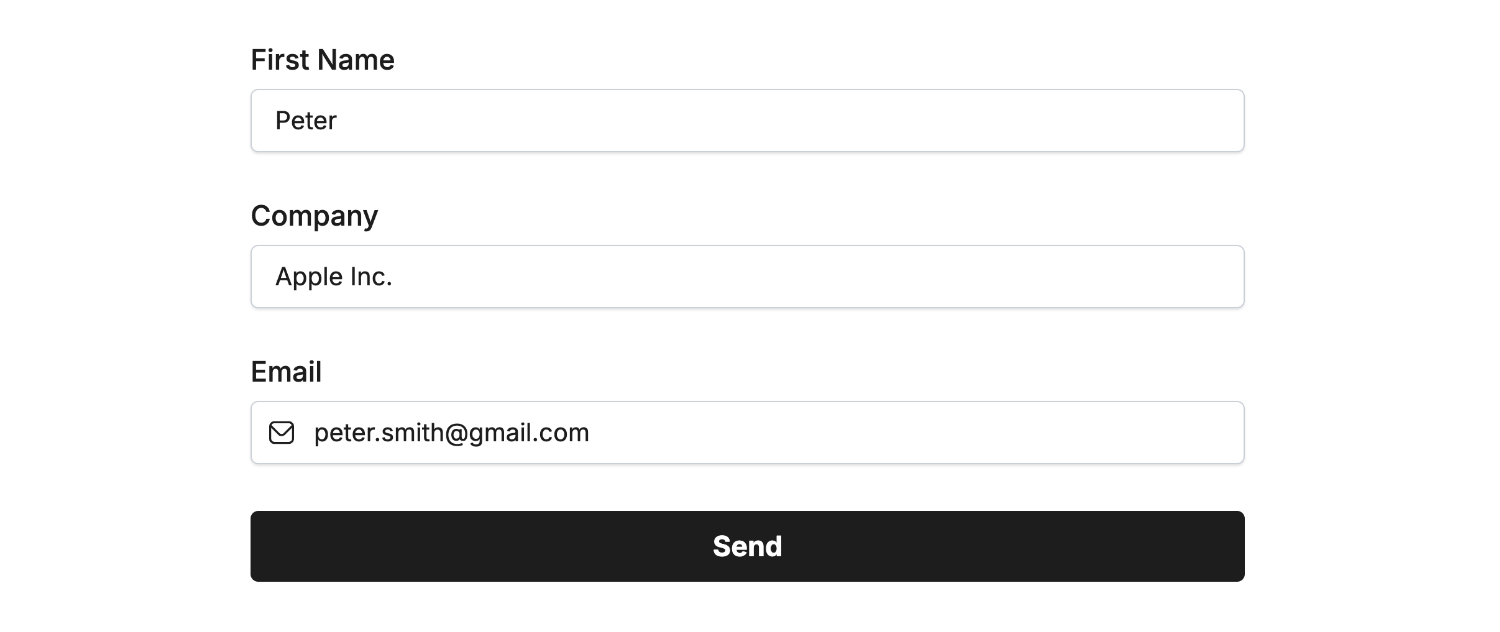
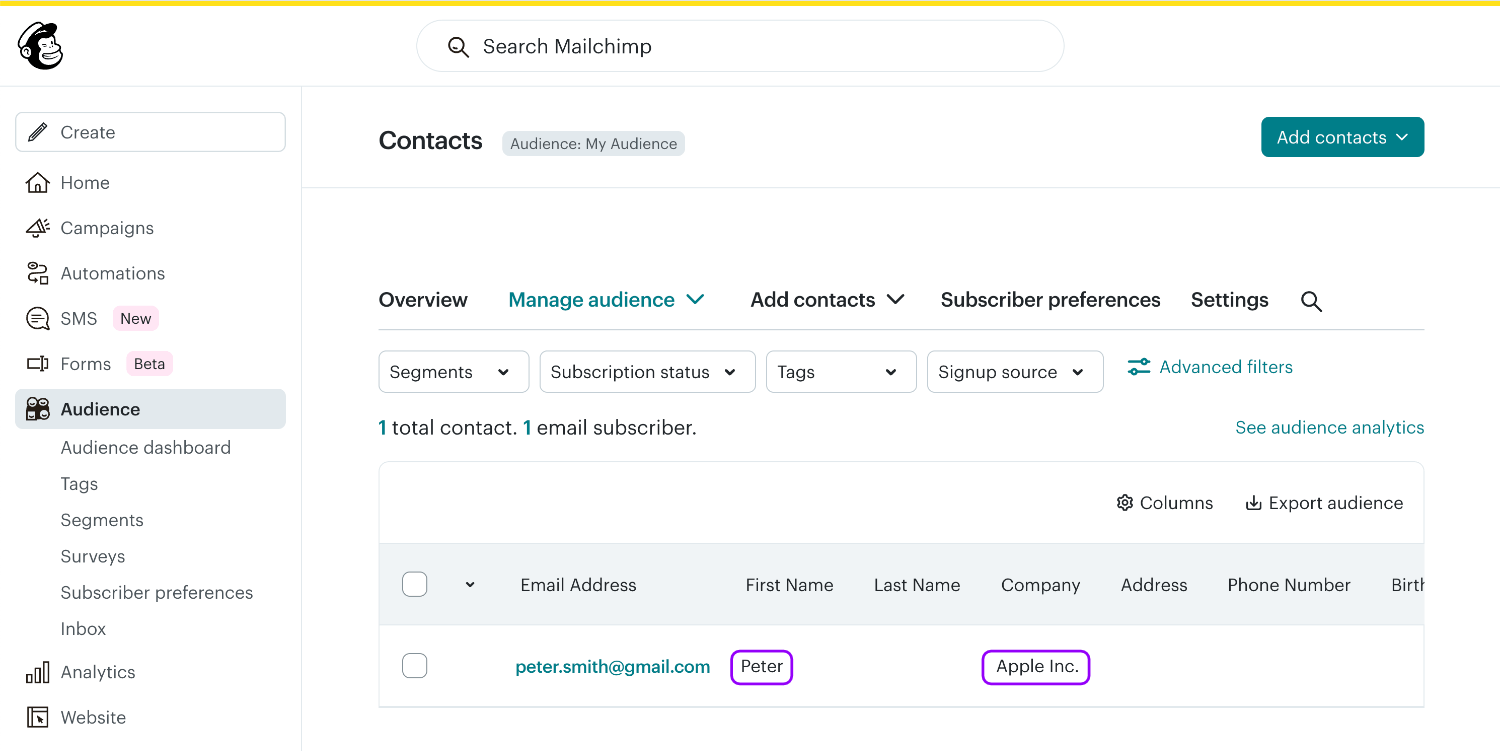
Then view the new subscriber inside Mailchimp with the extra First Name and Company field data:
Adding to Group(s)
Automatically add new Mailchimp subscribers to one or more groups, based on the answers supplied in their form result.
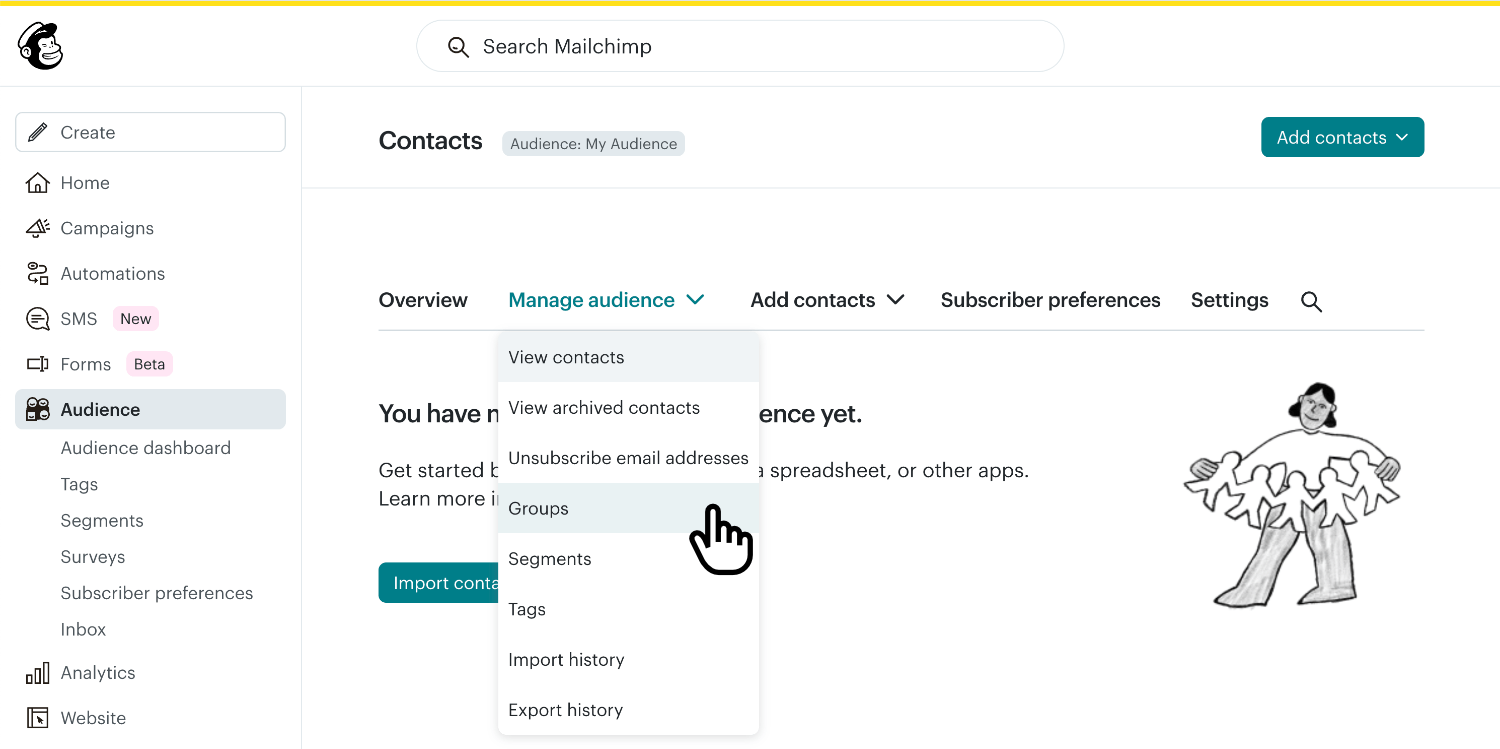
Click Audience and expand the Manage audience menu, then select Groups:
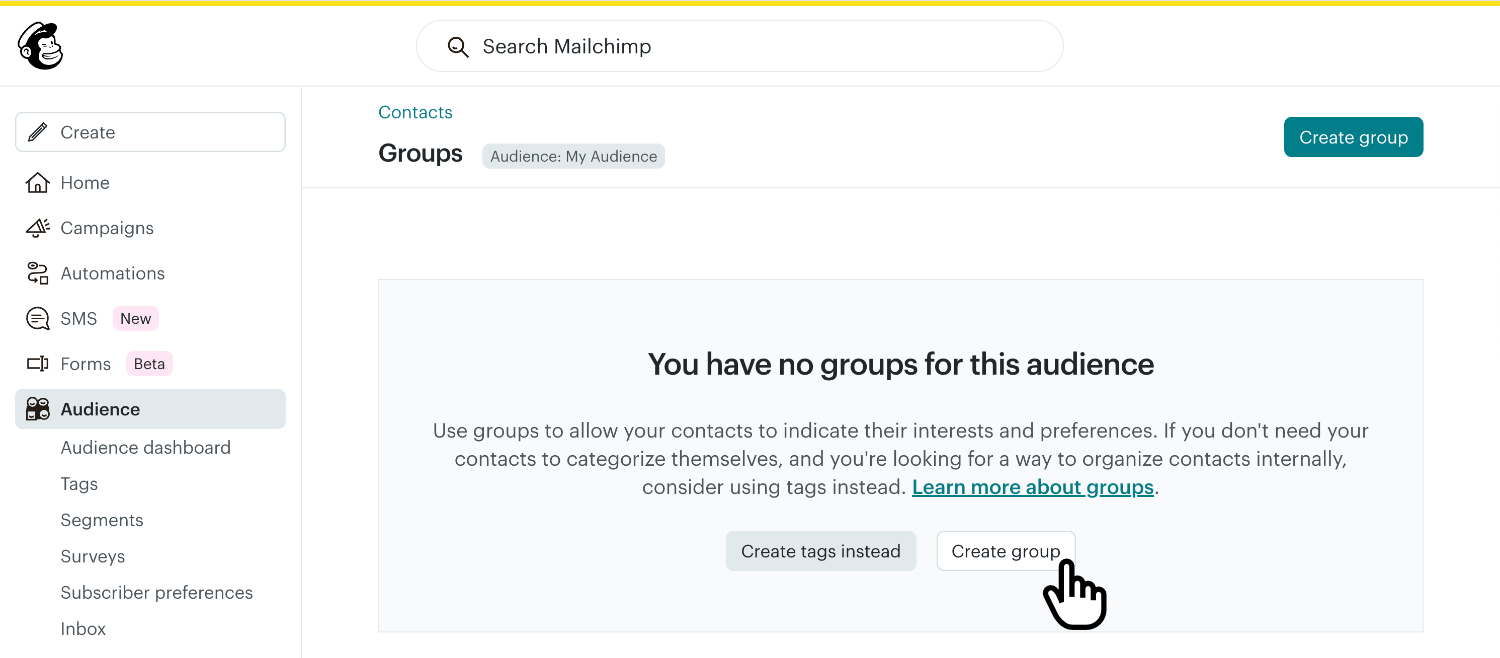
To create a group, click Create group:
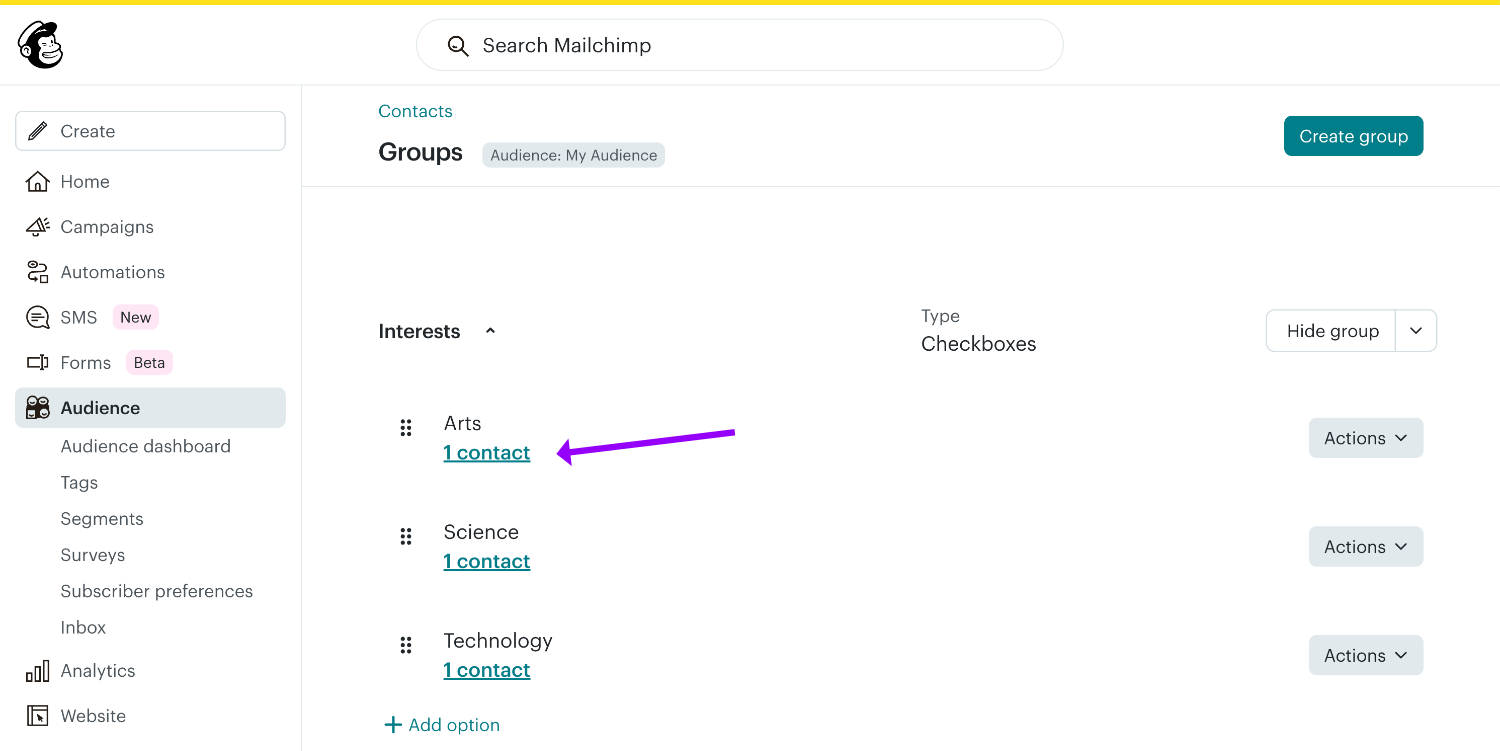
Next, give a name to your Group category, for example Interests (we’ll use this group category name shortly). Then enter each group name, such as Arts, Science and Technology, and click Create group:
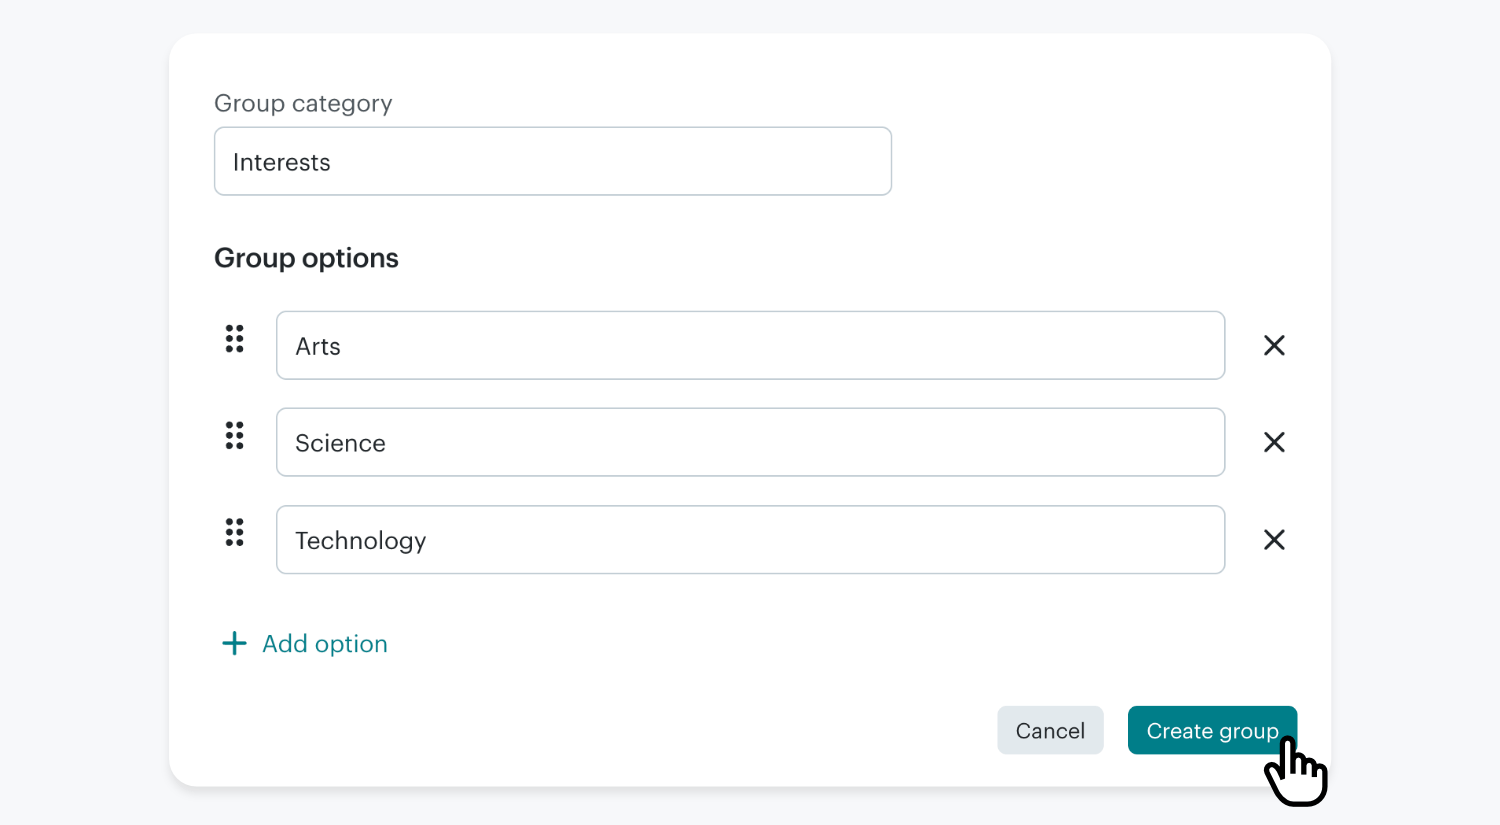
Mailchimp group categories “contain” the groups your subscribers will be added to.
Single Groups: To allow the user of your form to be added to a single group you’ll want to use a Single-Select Field or Dropdown Field.
Multiple Groups: To allow the user to select multiple groups at once you’ll want to use the Multi-Select Field.
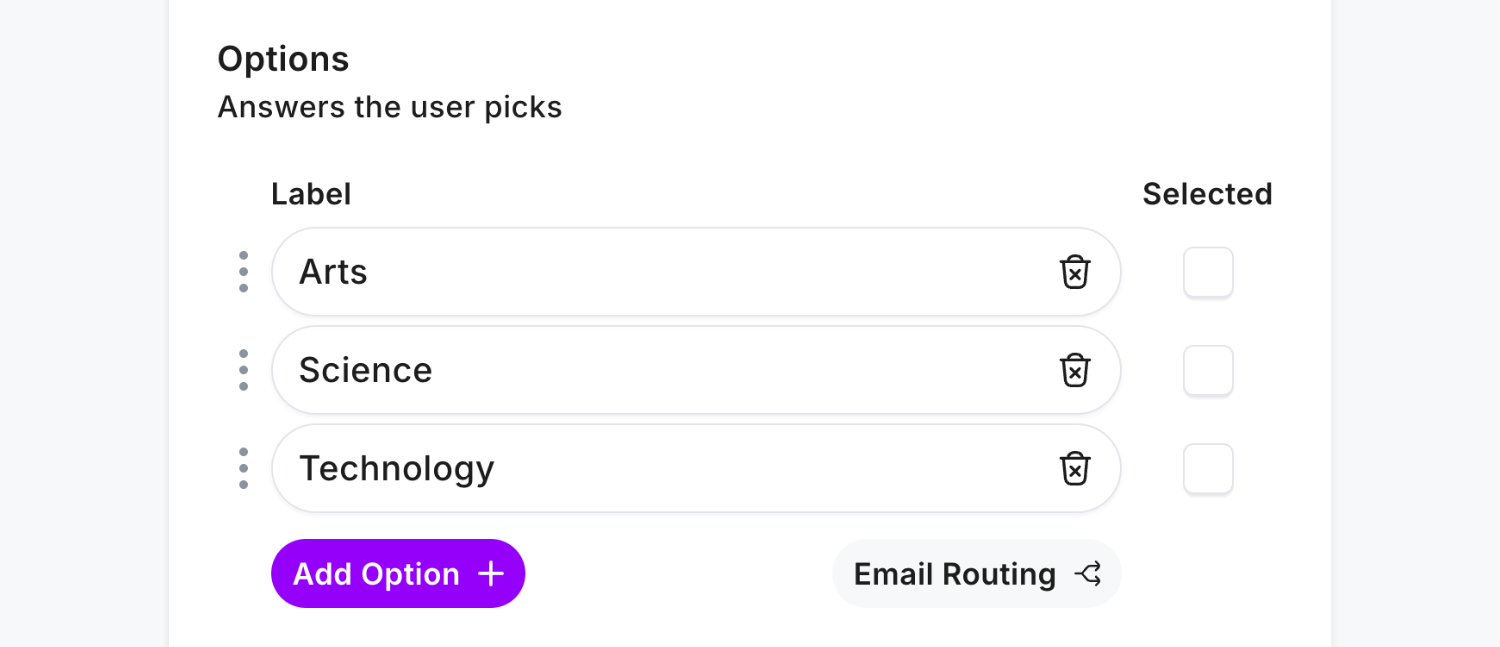
After adding either a Single-Select, Multi-Select or Dropdown Field to your form, click Edit and in the Options list add each Mailchimp group name:
Create the connection to Mailchimp that the options are group names, use the Field Mapper and add a group_ value followed by the group category name, interests in our example:
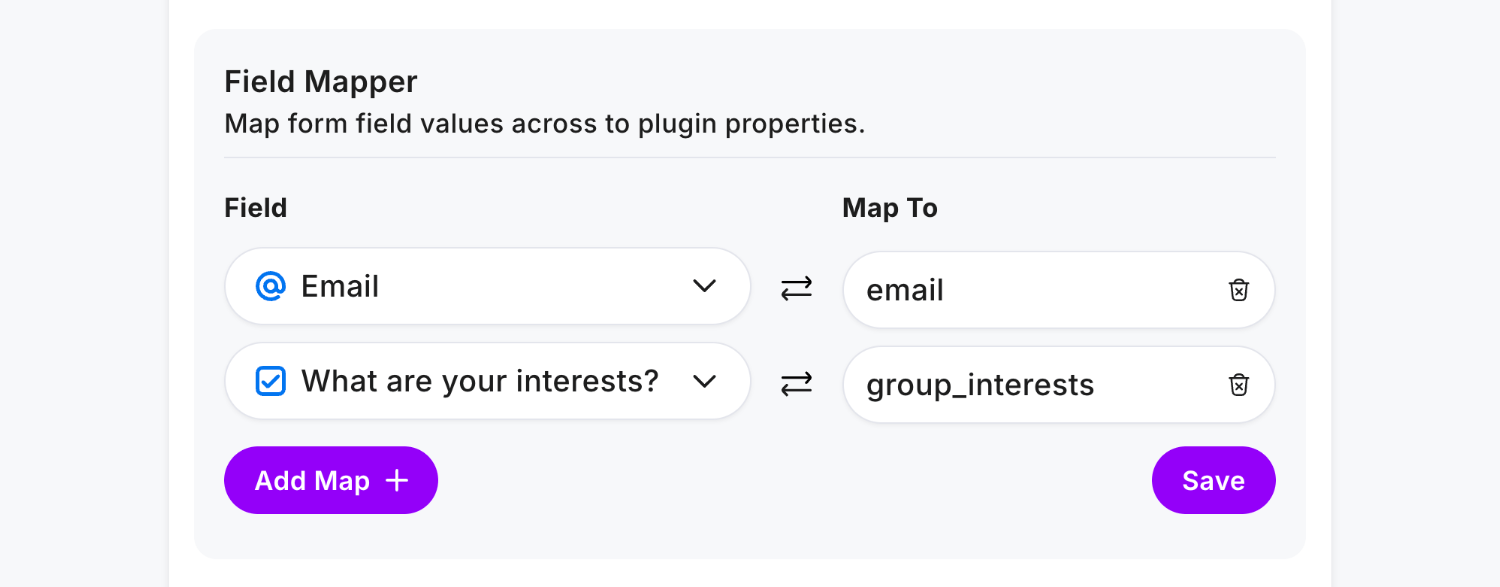
group_interestsis required to instruct theMailchimp Pluginthat this field contains groups. Simply suffixgroup_with your group category name, such asgroup_hobbiesfor “Hobbies”.
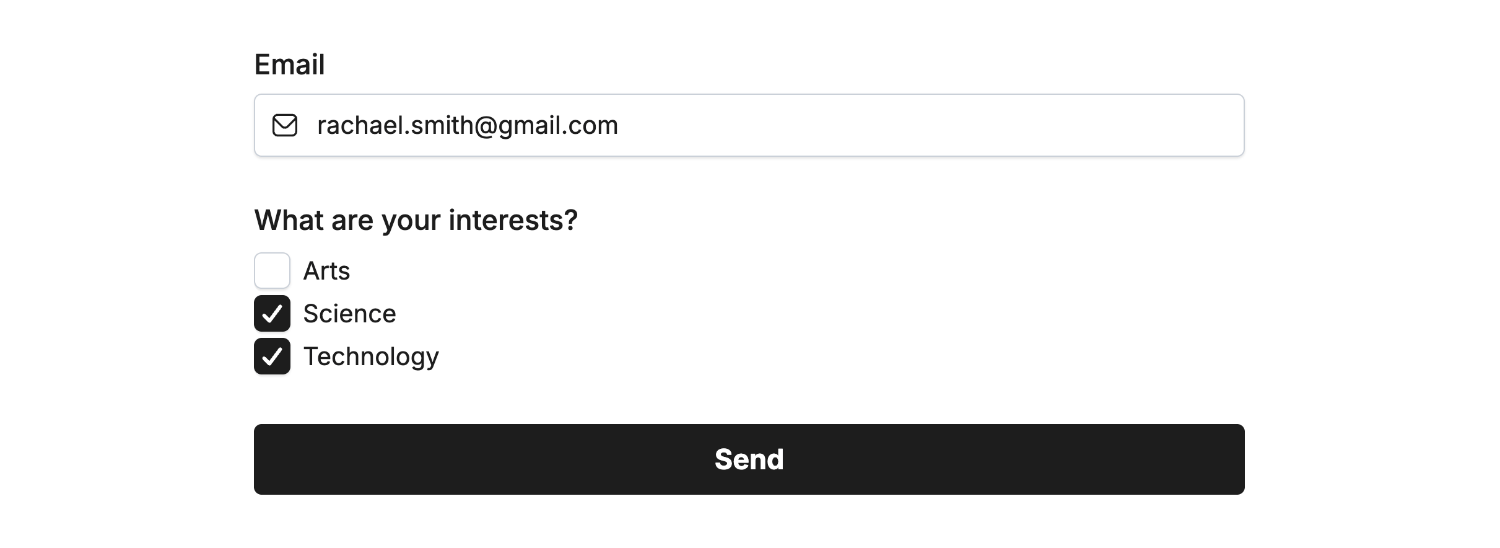
Click Save and Publish, then enter some data in your form and click Send:
We can then see the Science and Technology groups now contain a new subscriber:
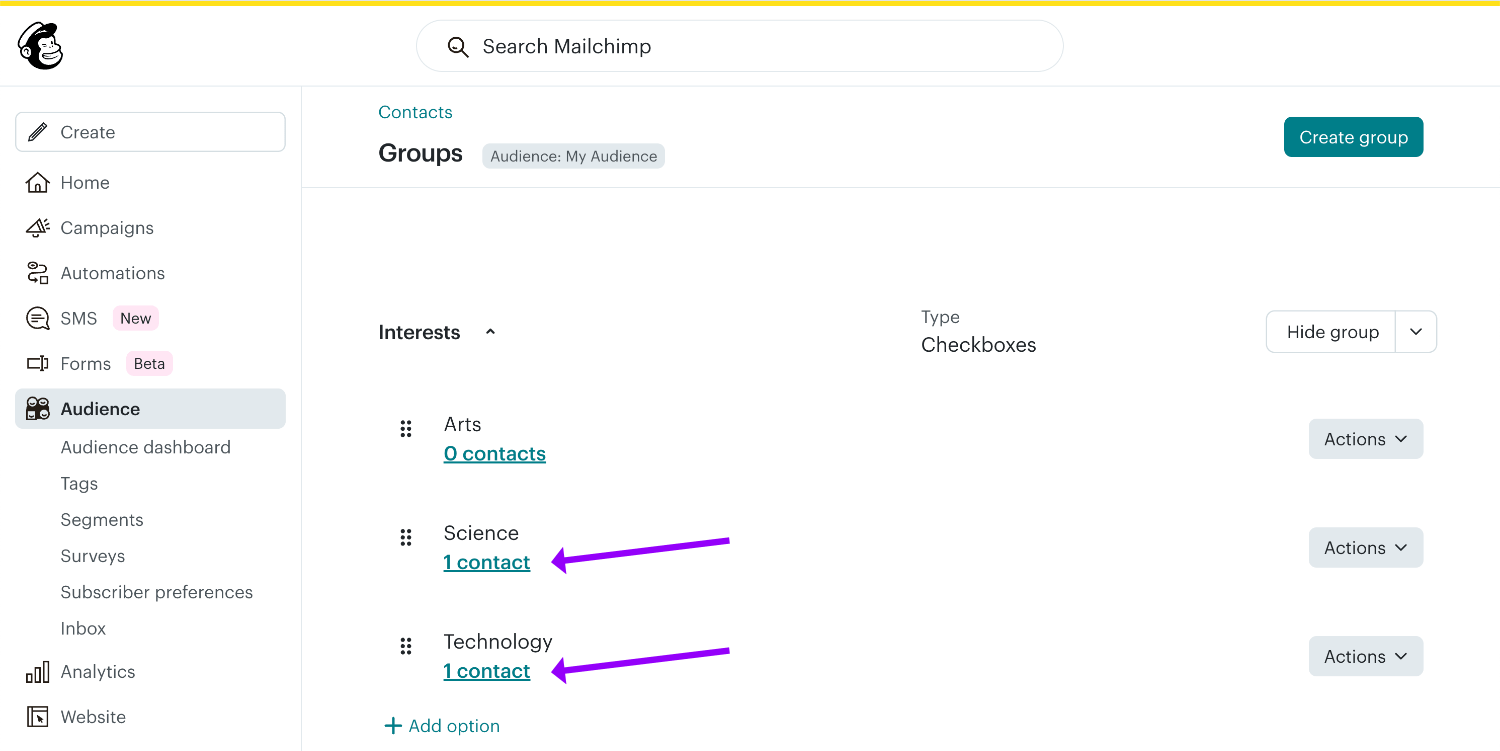
Locating the new subscriber also displays the groups they belong to:

What’s more is you can repeat the process by adding another field, more groups, and configuring them in the Field Mapper to add subscribers to multiple groups across multiple form fields.
Auto-Add to a Single Group
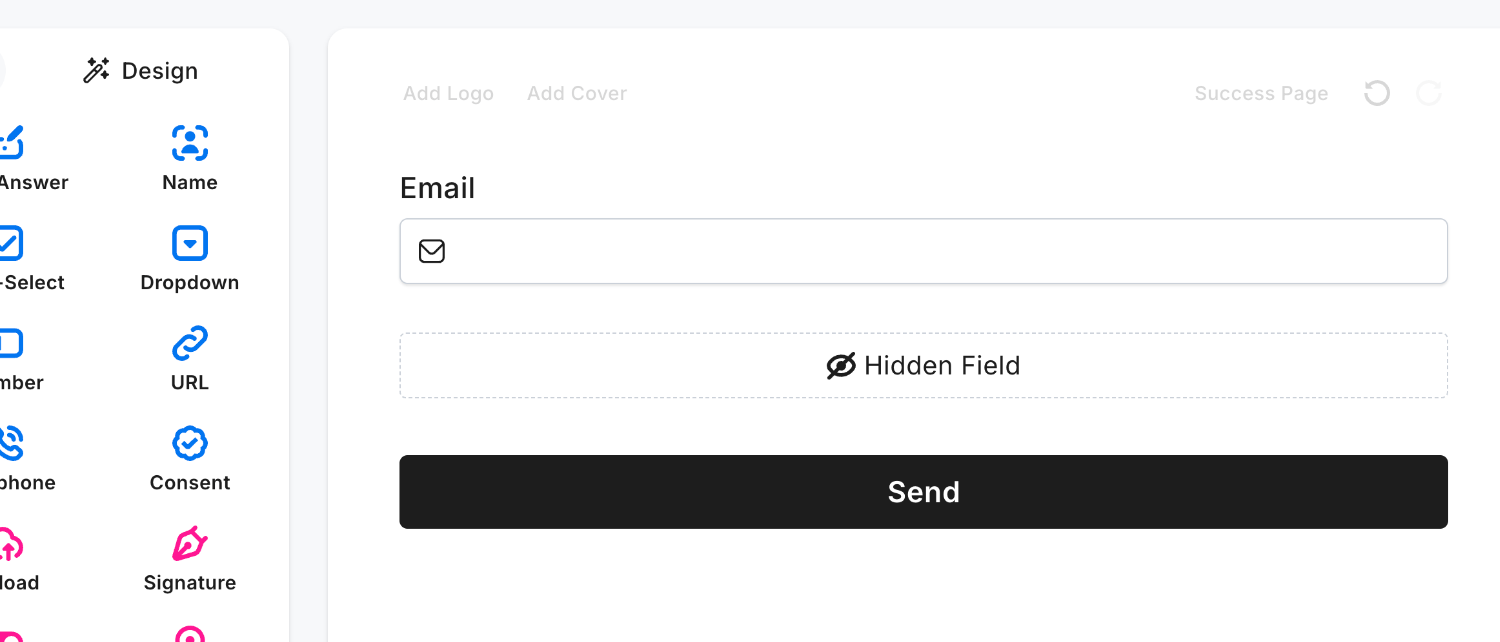
To automatically add new subscribers to a single group without their input, opt for the Hidden Field:
 Viewing the form inside the Editor
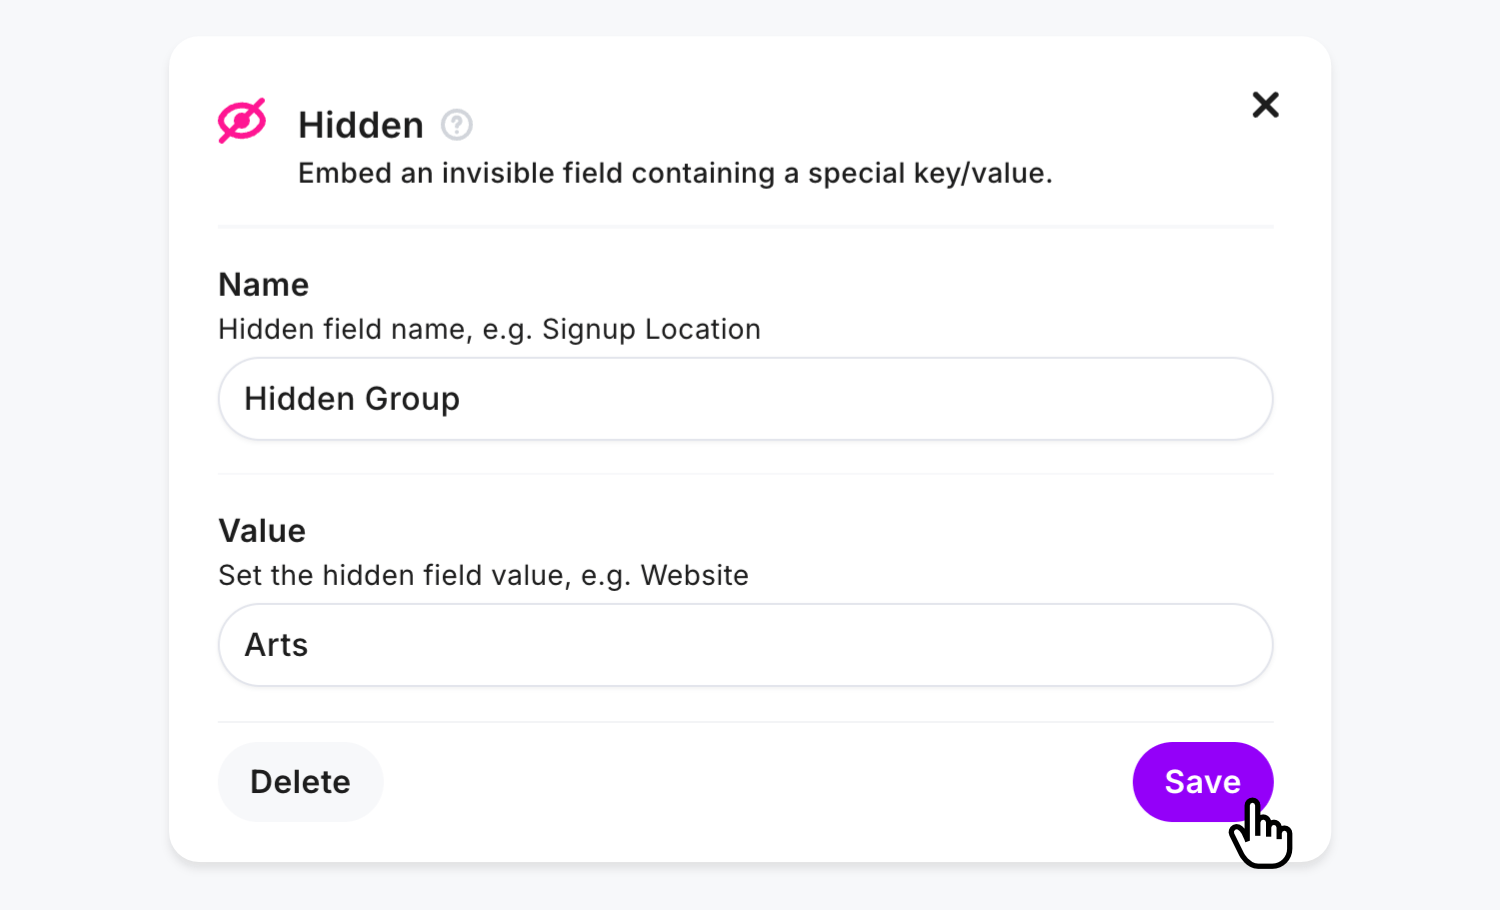
Once added, click Edit and you’ll see Name and Value. Enter any unique name into the Name field, followed by the group name inside the Value field:
Create the connection to Mailchimp that the Hidden Field contains a group name, use the Field Mapper and add a group_ value followed by the group category name, interests in our example:

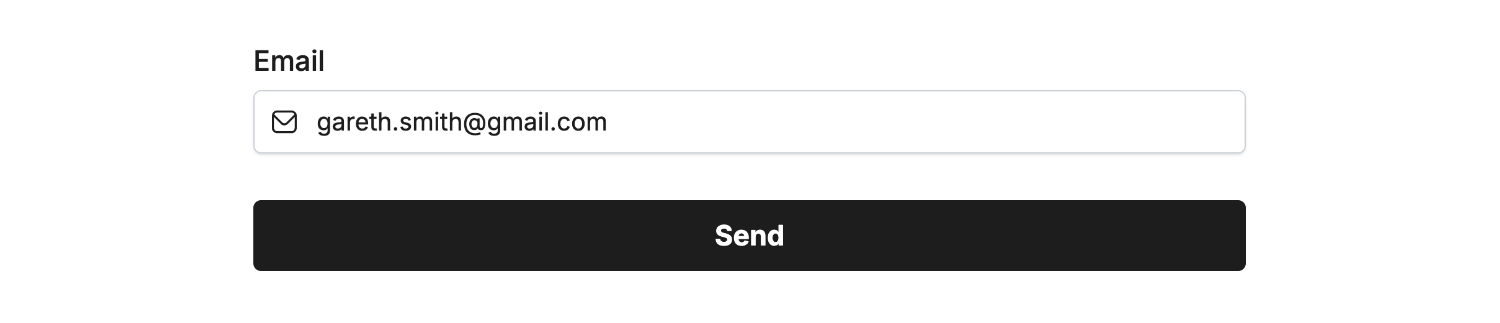
Click Save and Publish, and you’ll notice the Hidden Field is not visible to the user. Then, enter some data in your form and click Send:
 Viewing the published form the user will see
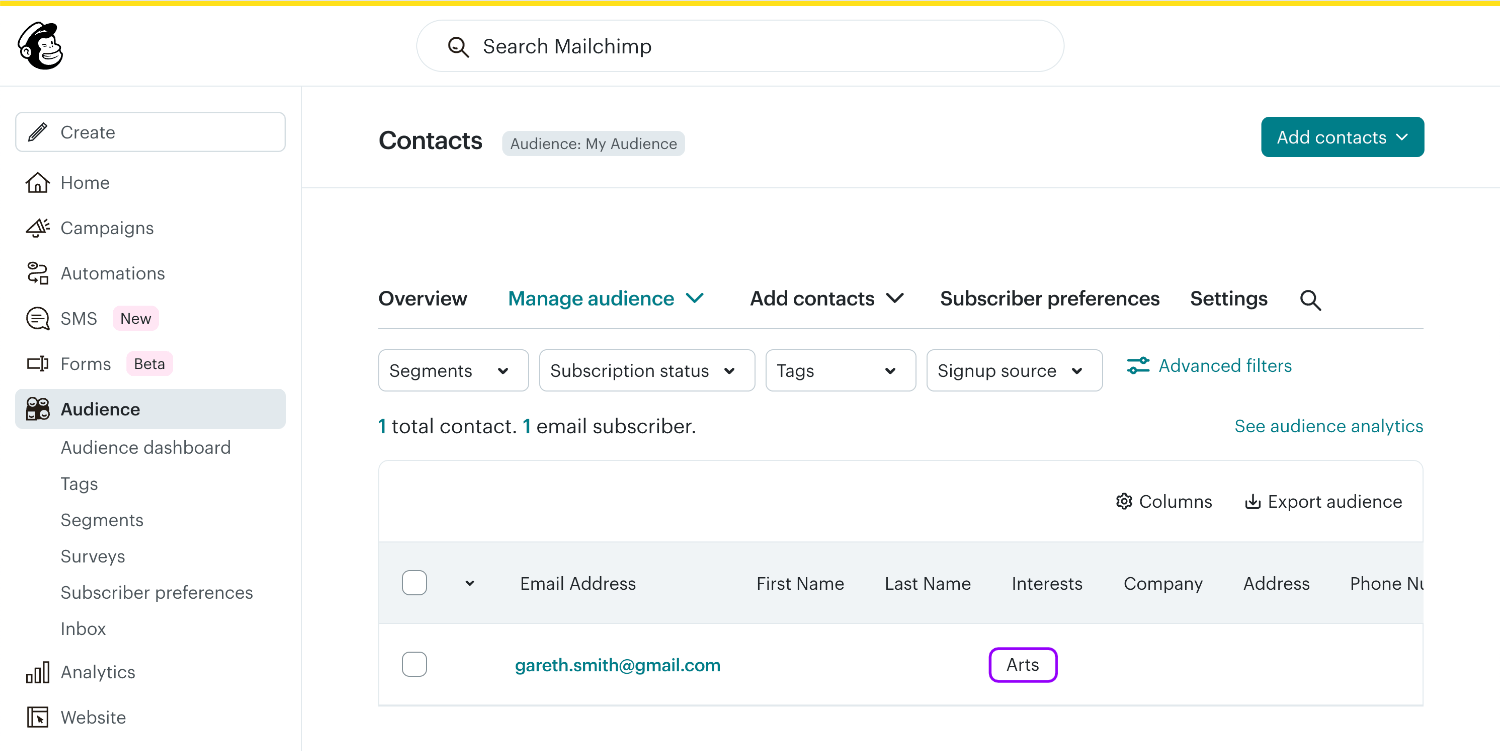
We can then see the Arts group now contains a new subscriber:
Locating the new subscriber also displays the group they belong to:
Opt-In Permission
To maintain compliance with data processing laws like GDPR, CCPA, PIPEDA and DPA it may be appropriate to use our Opt-In feature to allow conditional subscribing. Users will consent to being added to your marketing list while filling out your form and are added as a subscriber if they agree.
If they don’t agree, your form result is still processed but they are not added to Mailchimp.
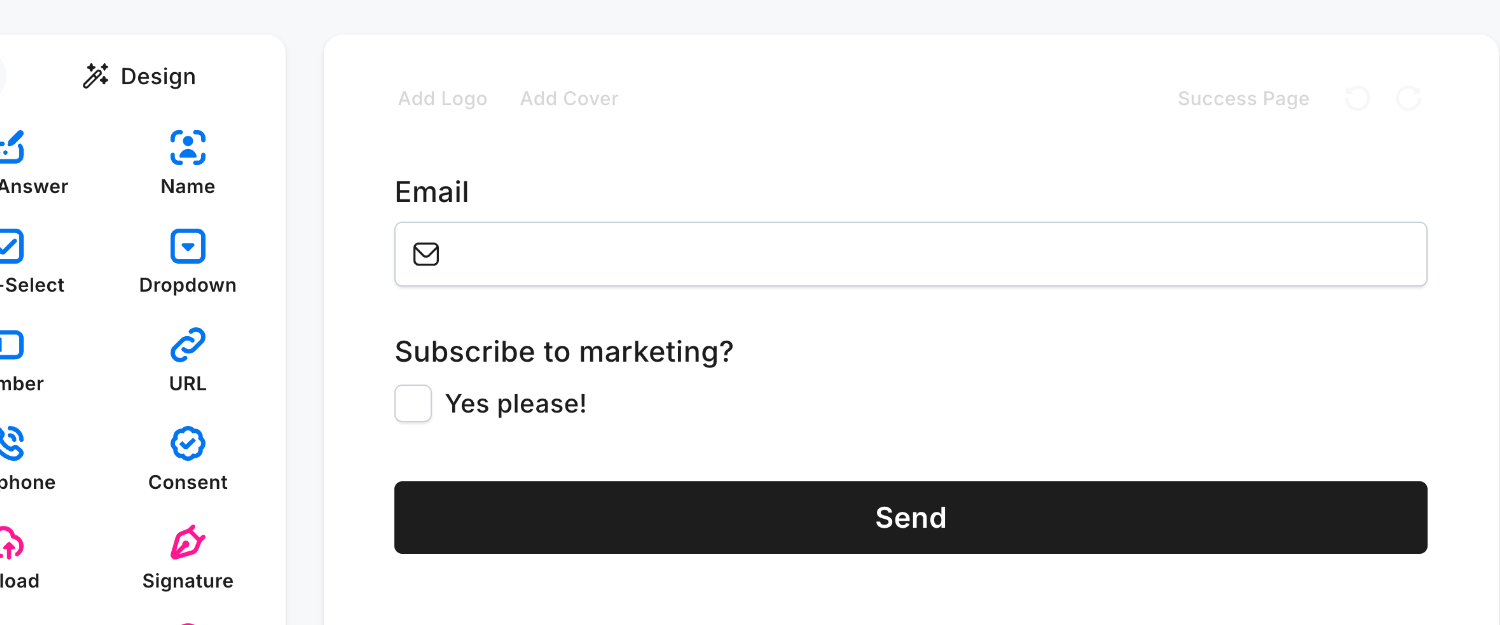
Our recommended field to use for this is the Yes/No Field, where the user can select a simple Yes or No choice to agree to be signed up:
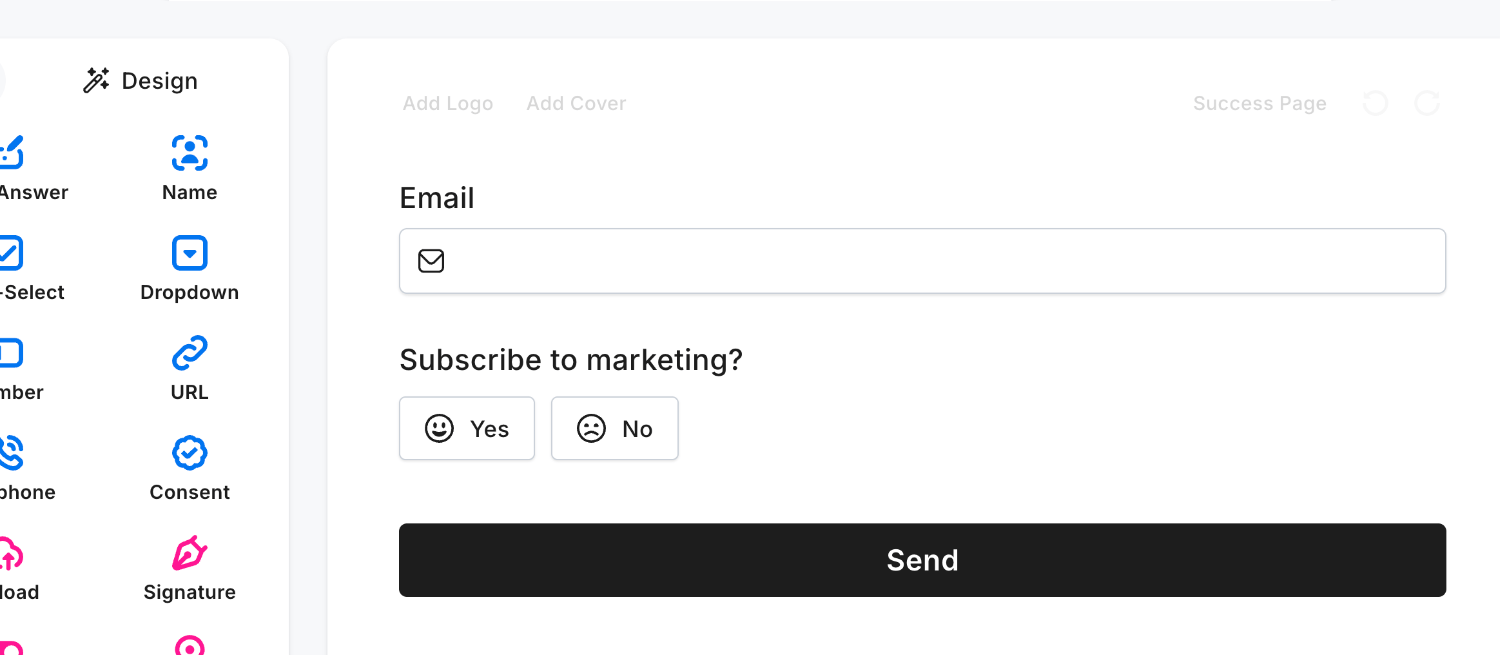 Field type ‘Yes/No’ • Field Mapped to ‘opt_in’
Important: The value “Yes” needs to remain for this to work, so don’t rename the label within this field. This is due to us understanding the context as labels can be misleadingly named.
Create the connection to Mailchimp that the Yes/No Field is treated as the Opt-In, use the Field Mapper and add opt_in:
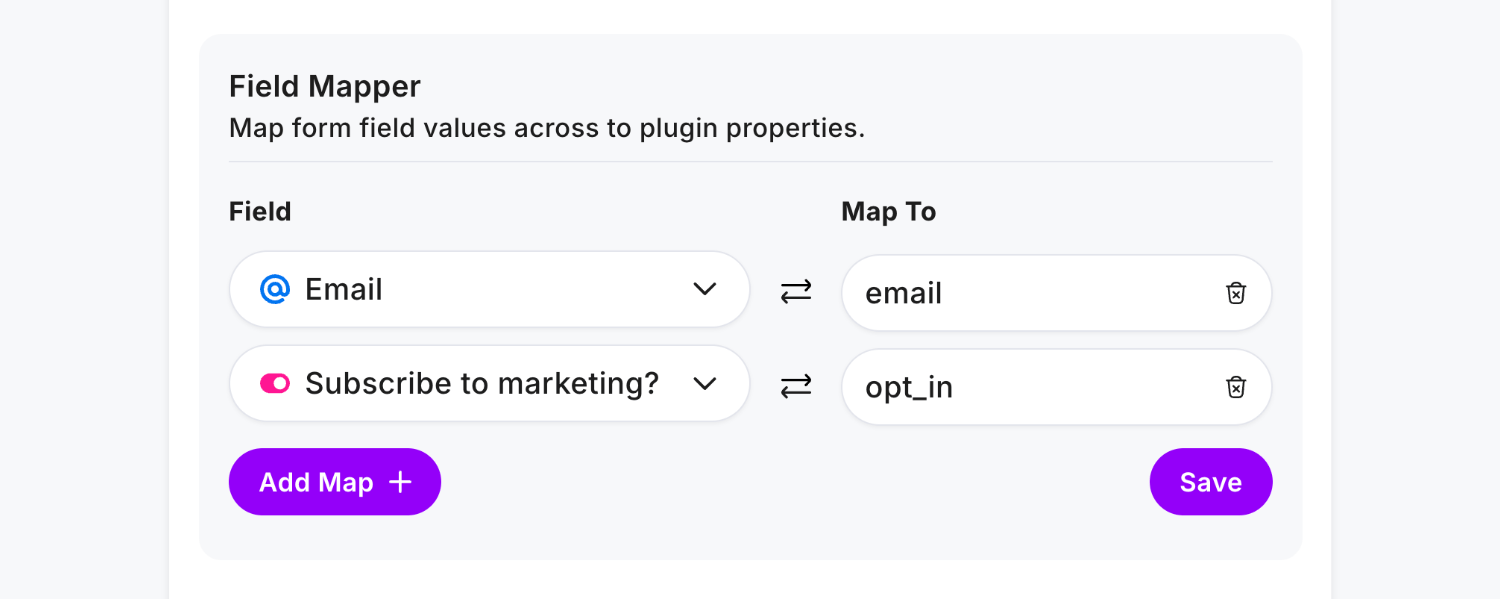
If the user selects Yes they are added to Mailchimp. If they select No you still receive a form result, but no Mailchimp subscriber.
Alternatively, use the Consent Field as the Opt-In trigger, which is useful for giving data processing consent and email marketing opt-in notice:
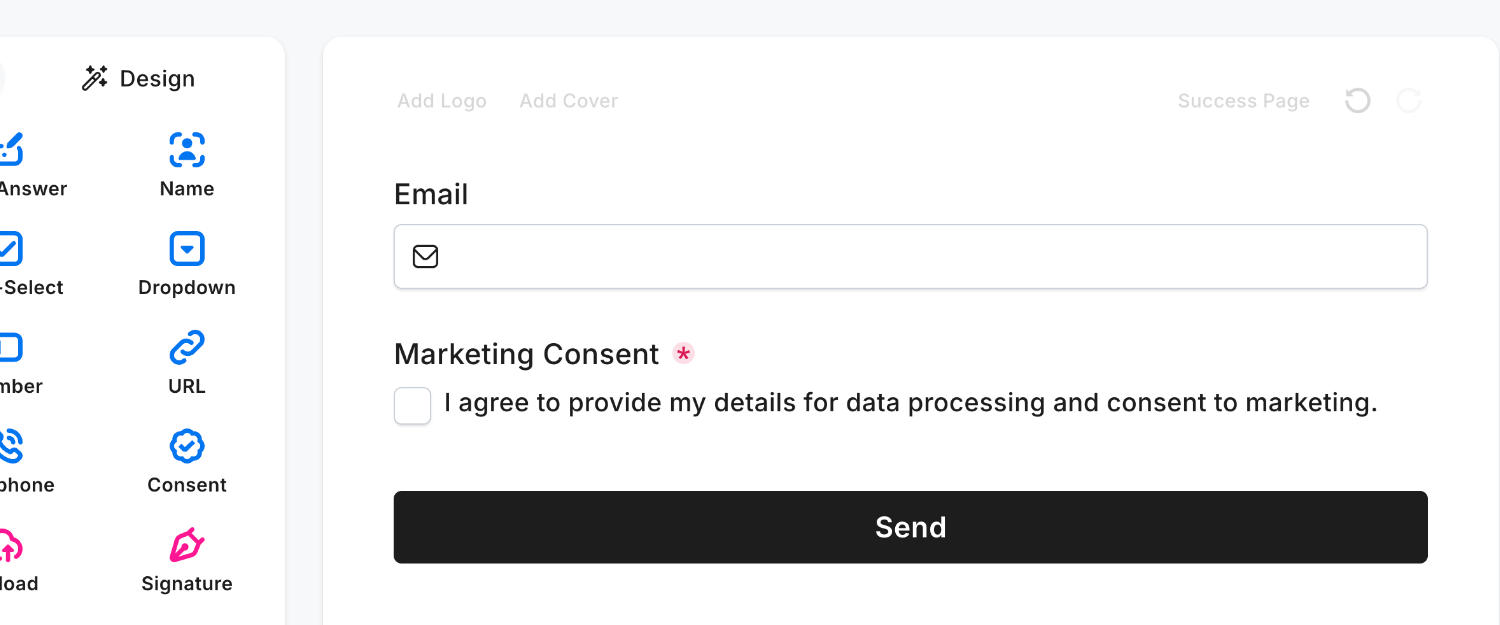 Field type ‘Consent’ • Field Mapped to ‘opt_in’
The Multi-Select Field may also be used if desired, which would allow you to set the field as optional (as the Consent Field is Required at all times), however must only include one option:
 Field type ‘Multi-Select’ • Field Mapped to ‘opt_in’
Explainer: Only one option is allowed when using the Multi-Select Field due to the flexibility of the field and associating a selected item with what you intend to be a ‘Yes’ vote to opting a user in.
Adding Tags
Mailchimp supports adding “tags” to subscribers and the Mailchimp Plugin can be easily configured to add tags for each new subscriber. Tags are not created in Mailchimp, you create them dynamically from form field data or preset values.
You can configure tags using the same steps above, through either a Single-Select, Multi-Select, Dropdown or Hidden Field.
Option 1: Allow the user to select the tag(s).
We’ll demonstrate assigning a single tag via the Dropdown Field (for multiple tags use Multi-Select), in the Options list add each Mailchimp tag:
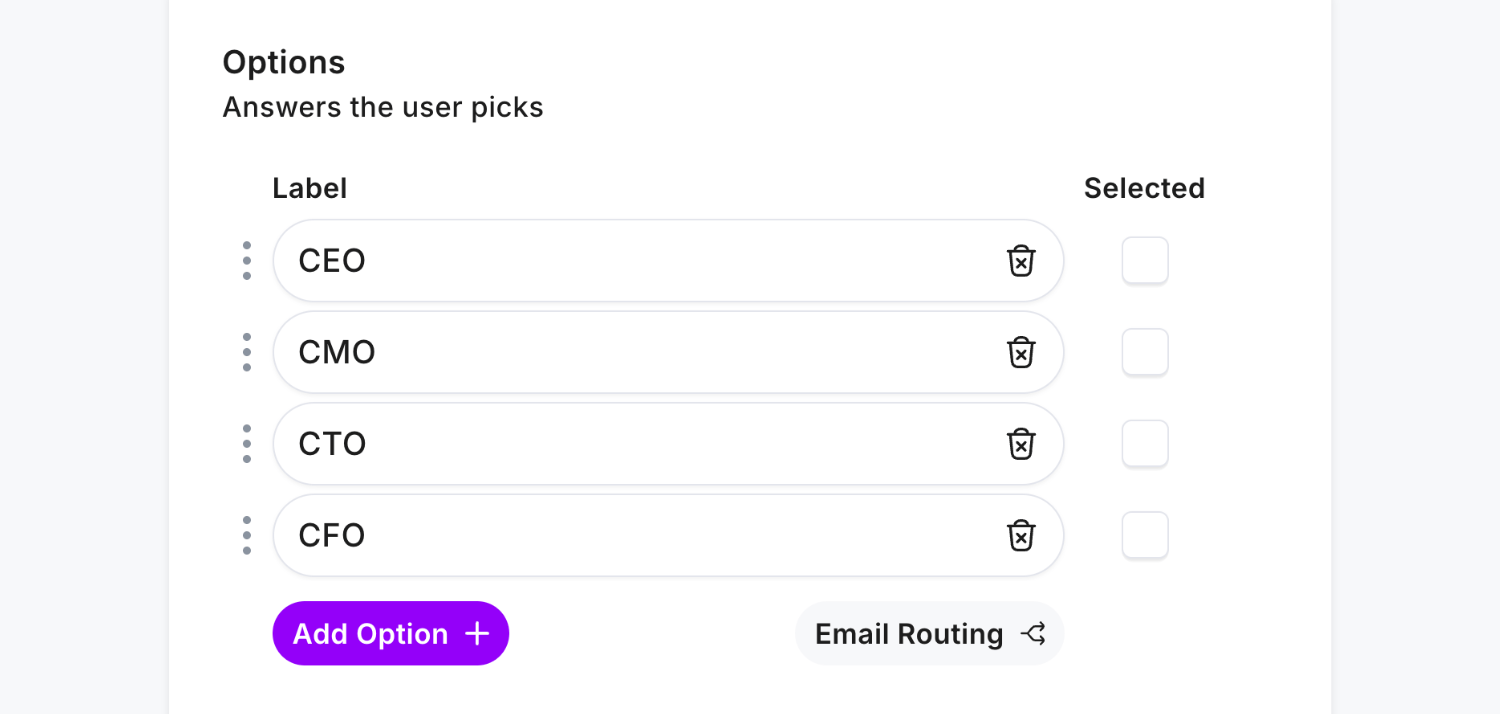
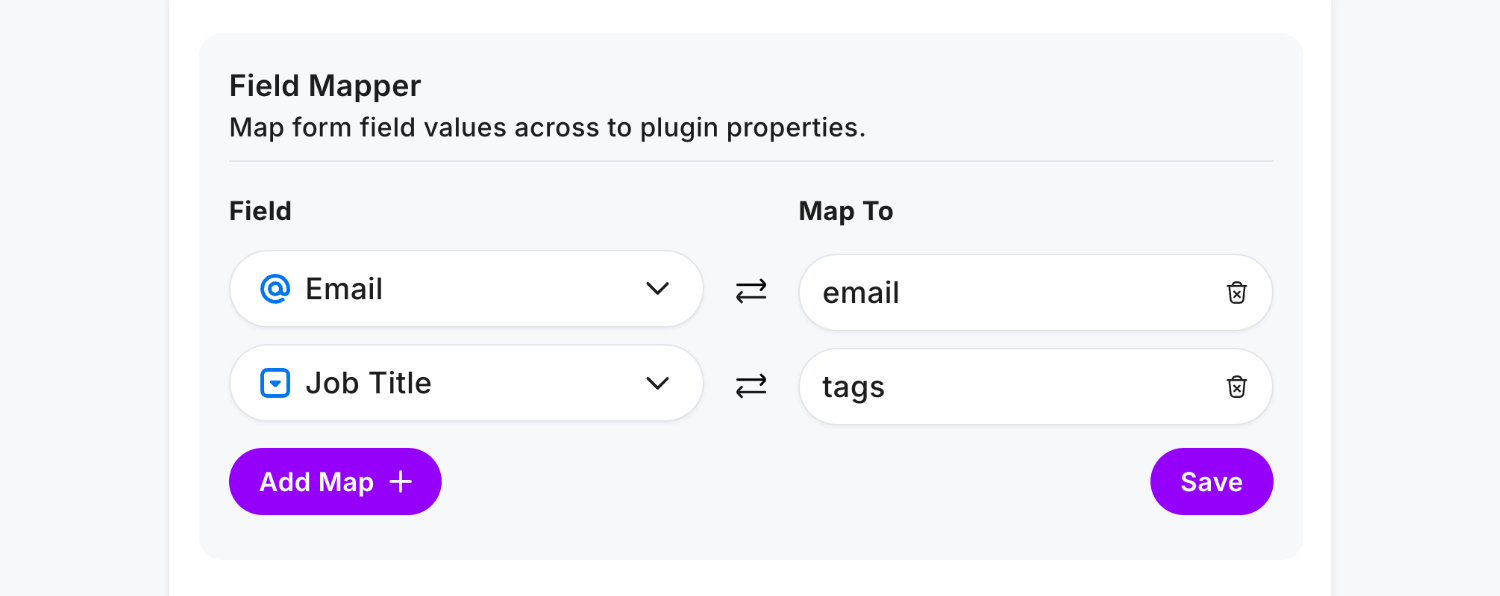
Create the connection to Mailchimp tags with the Field Mapper by entering tags as the value:
Click Save and Publish, then enter some data in your form and click Send:
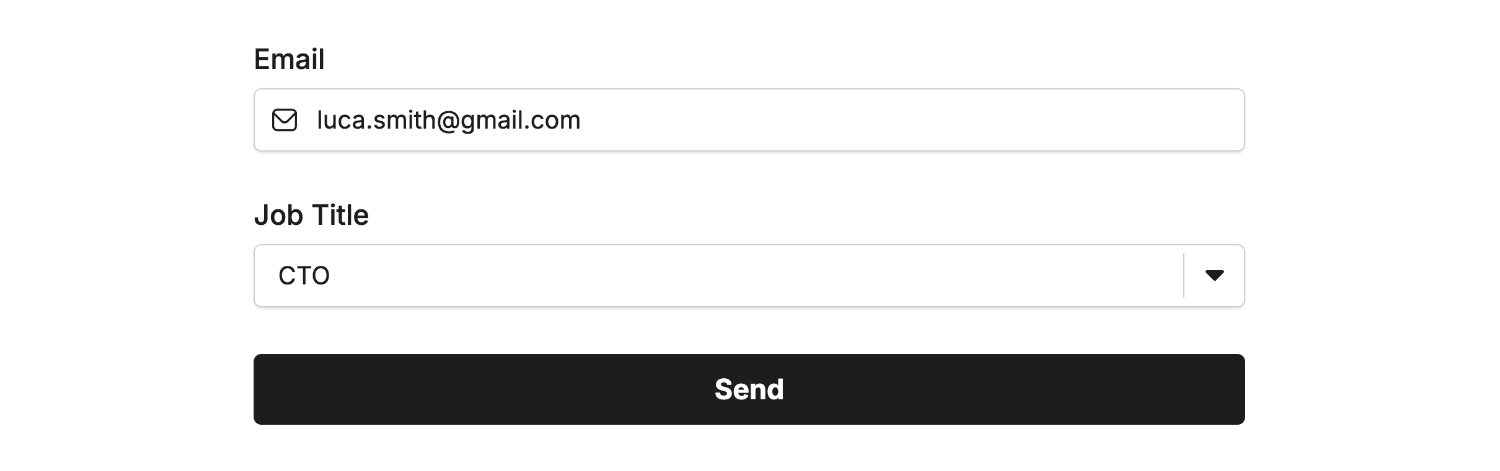 Field type ‘Multi-Select’ • Field Mapped to ’tags’
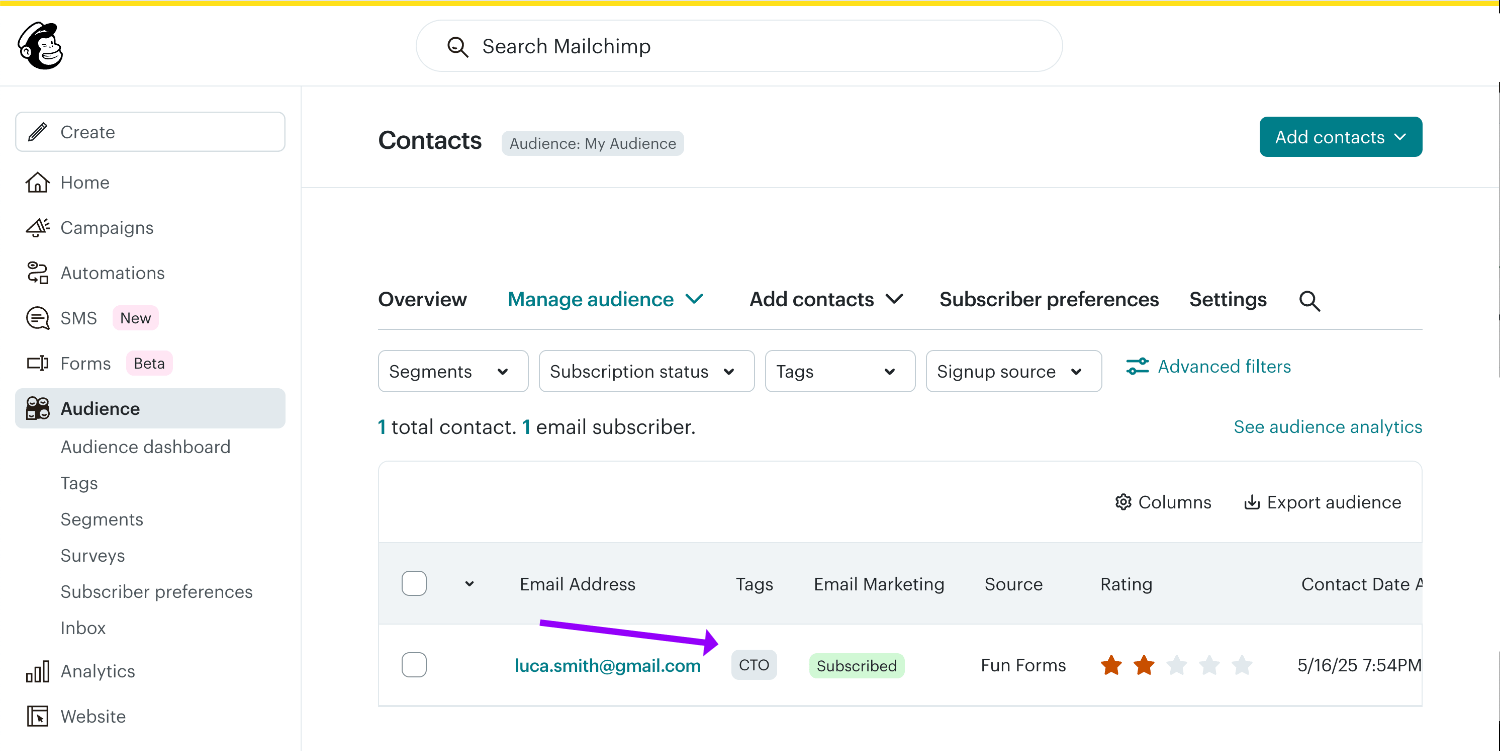
Then view the new tags data within Mailchimp to confirm the connection:
Option 2: Automatic tag(s) using a Hidden Field.
After adding the Hidden Field, click Edit and you’ll see Name and Value. Enter any unique name into the Name field, followed by the tag name inside the Value field:
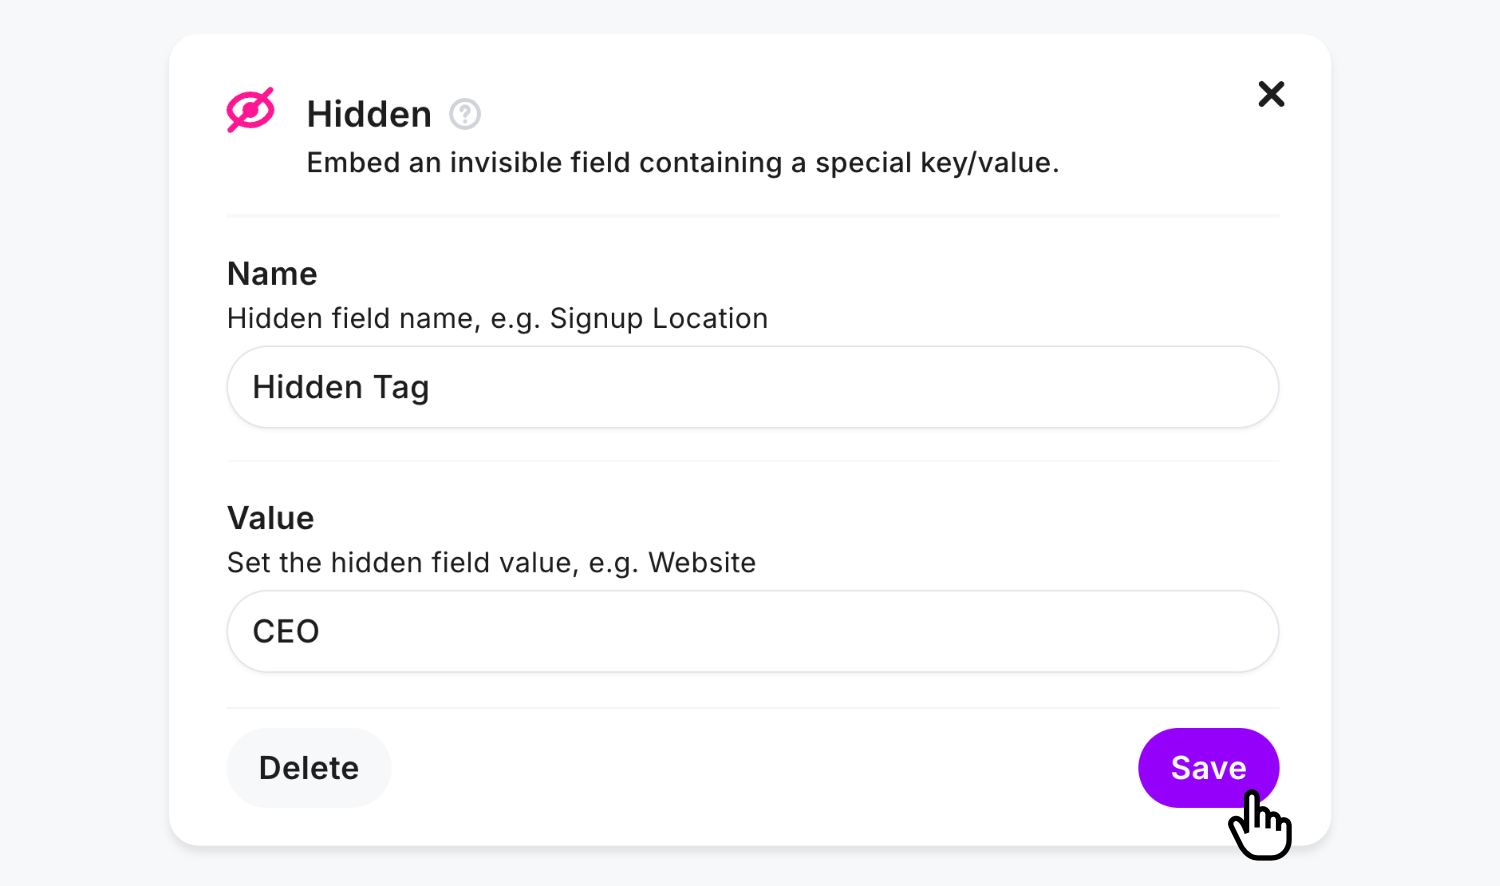
For multiple tags simply comma separate the values, i.e.
CEO, CTO
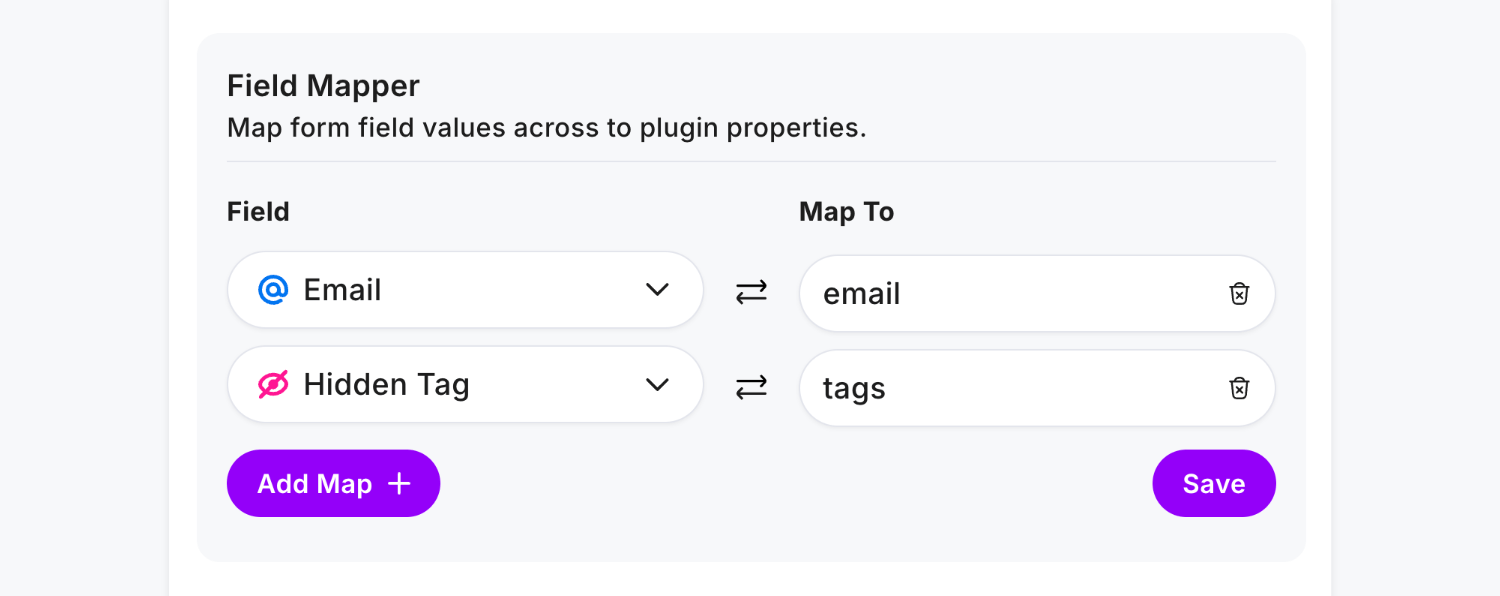
Create the connection to Mailchimp tags with the Field Mapper by entering tags as the value:
Click Save and Publish, then enter some data in your form and click Send:
 Field type ‘Hidden’ (not visible) • Field Mapped to ’tags’**
Then view the new tags data within Mailchimp to confirm the connection:

That’s it! You can contact us for help anytime.